 CAL
CAL Crochet Hooks
 Etsy Patterns
 Ravelry
 FREE
FREE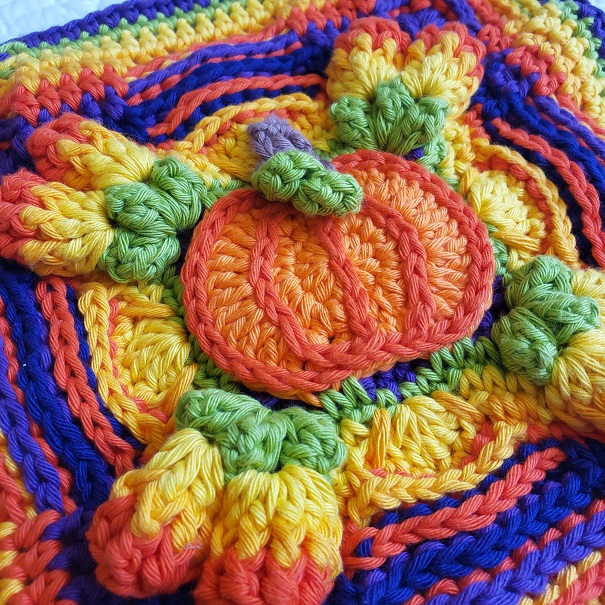
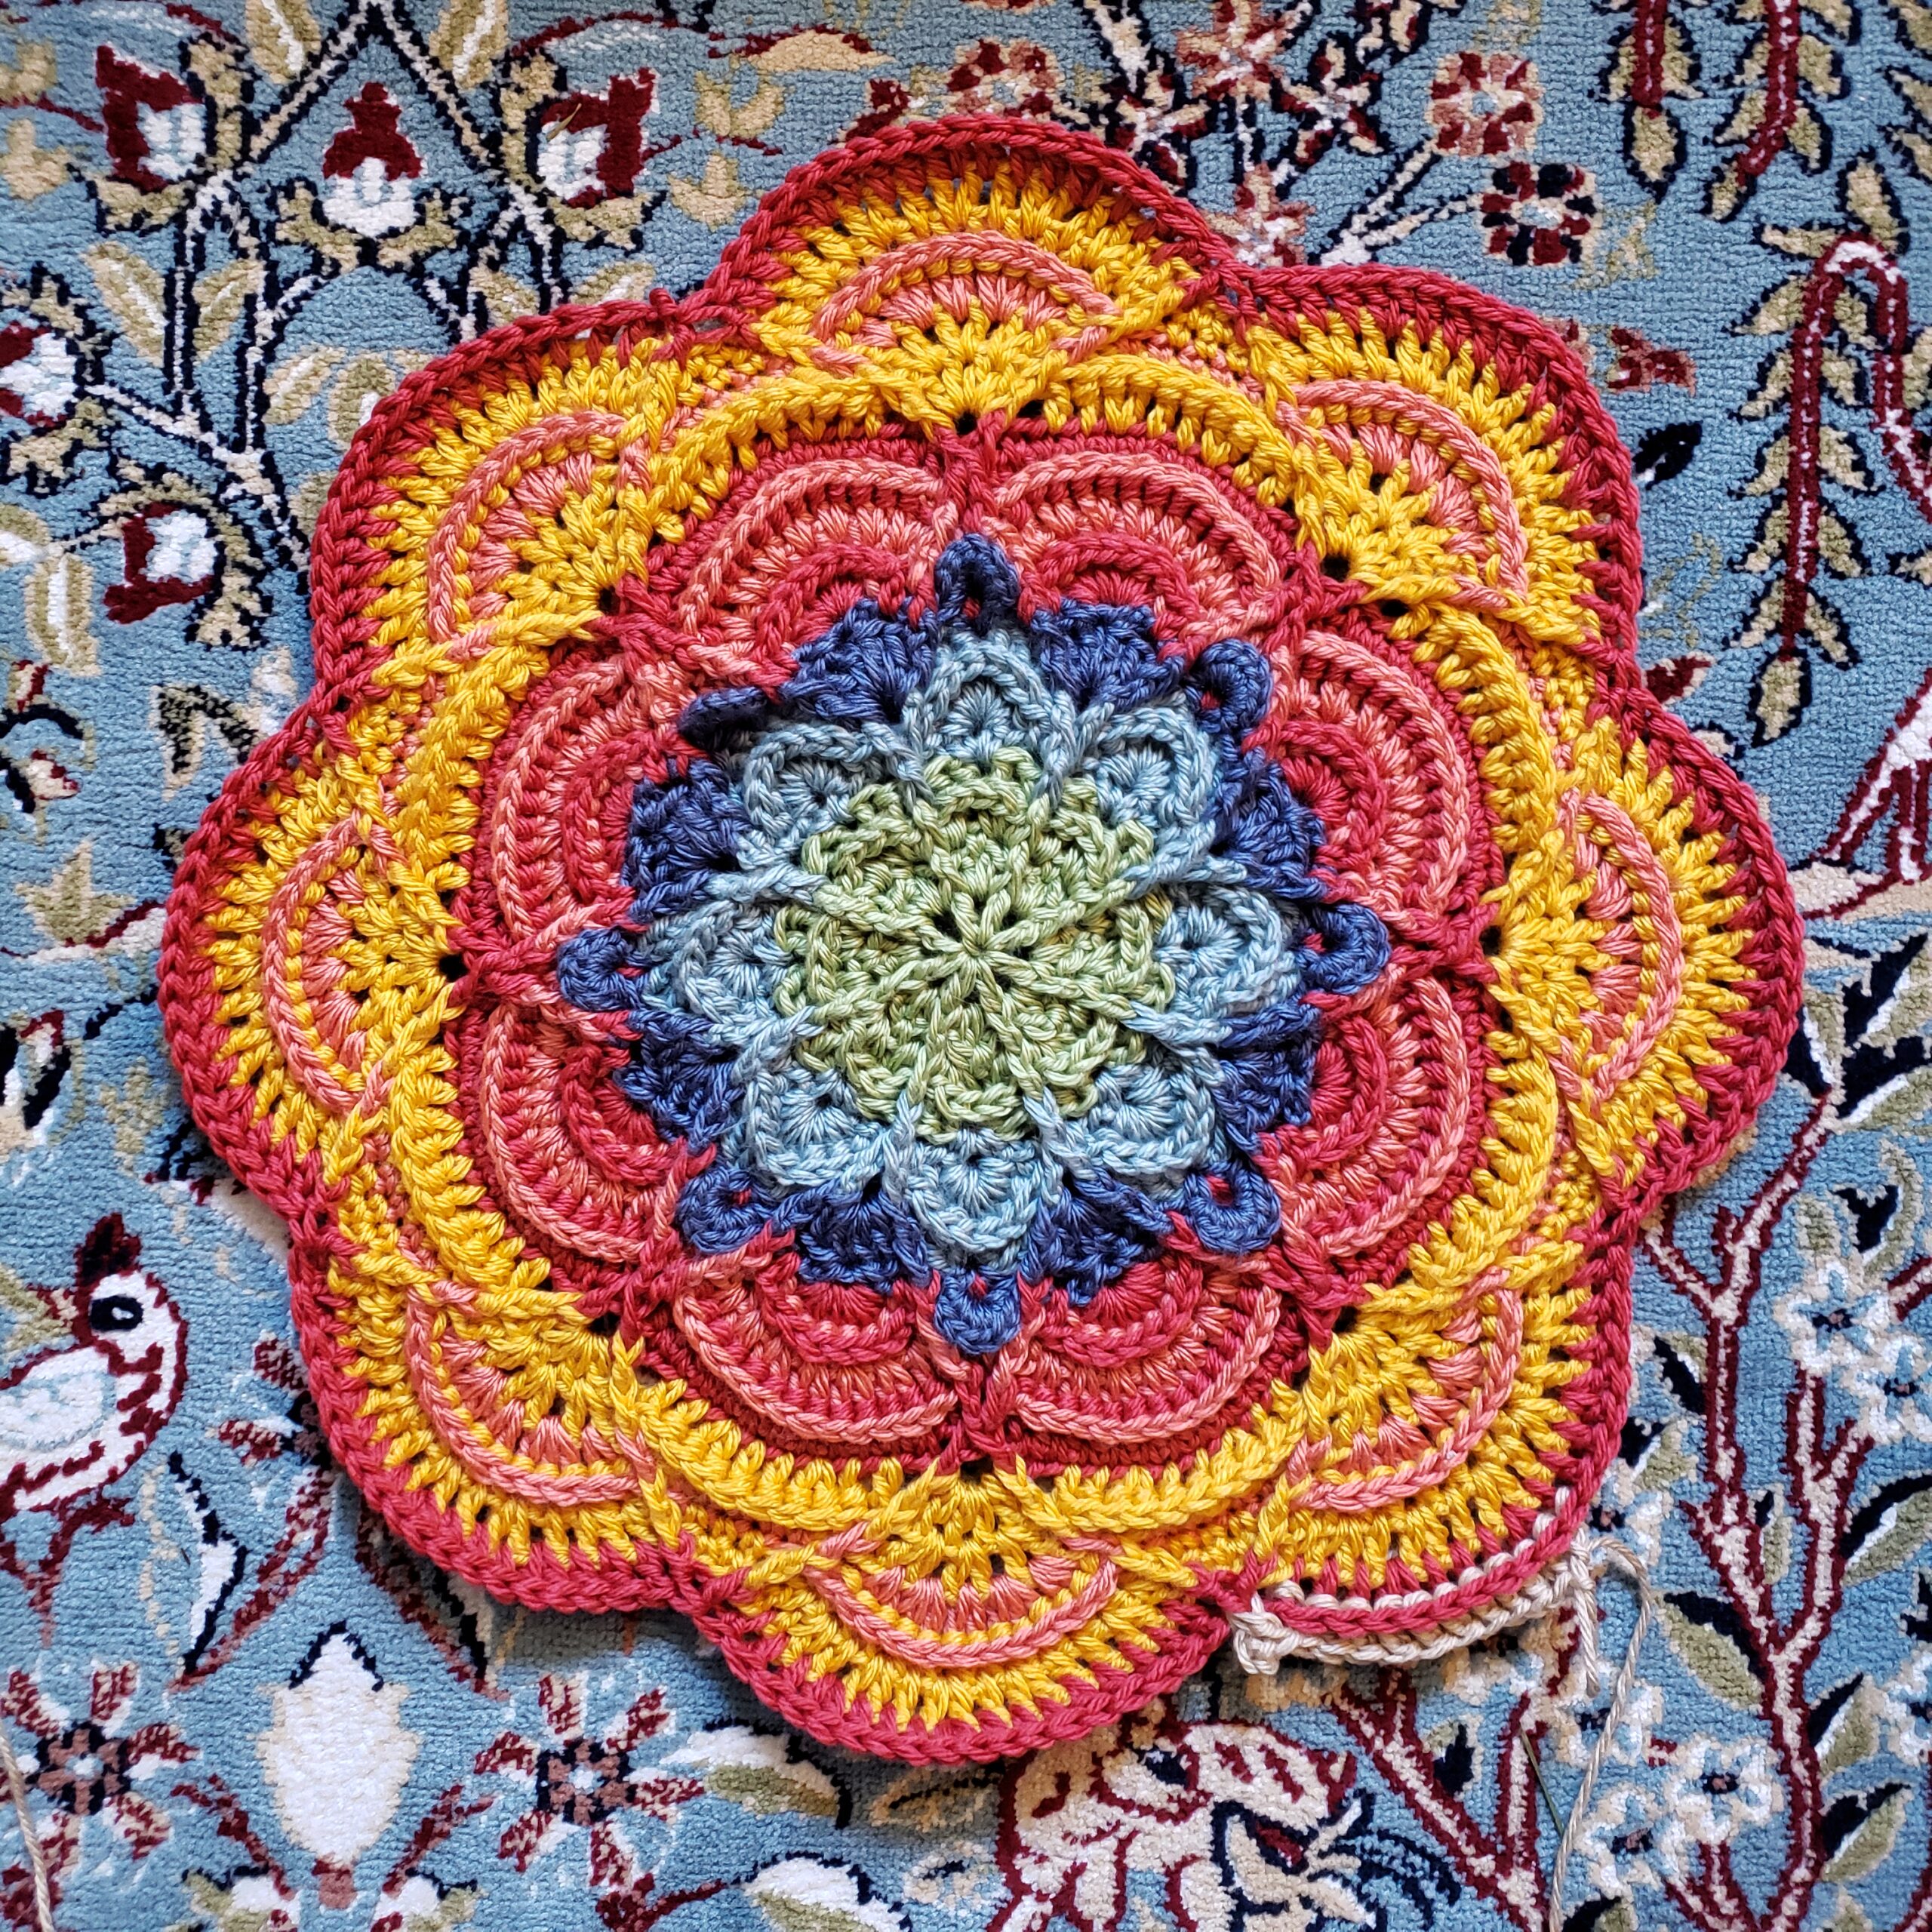
Photo tutorial, please find written steps beneath each photo prompt.

Start with an adjustable ring and pull up a loop, ch1 to lock in place.

12hdc into ring,

pull ring closed,

finish round by joining into the top of the second hdc from the round, when you do this a new loop is created over the first hdc. You will have 12 stitches to work into, including the one you just joined into.

Single crochet into the same stitch you just joined into, 2hdc into next 4 stitches, sc into next 2 stitches, 2hdc into next 4 stitches, sc into next stitch, join to first sc from round.

Sc into the same stitch as the join you just made, 2hdc into next 7 stitches, sc into the next 4 stitches, 2hdc into the next 7 stitches, sc into the next stitch, join to the next stitch of round.

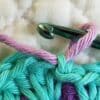
Change color to make the surface stitches over the motif. Slip stitch underneath both top loops of the first stitch available and continue to slip stitch into each stitch around the motif. To accomplish this, you will be feeding your yarn to your hook from underneath the motif. Essentially inserting your hook under the top loops, picking up your yarn from under the motif and pulling up a loop to the surface.

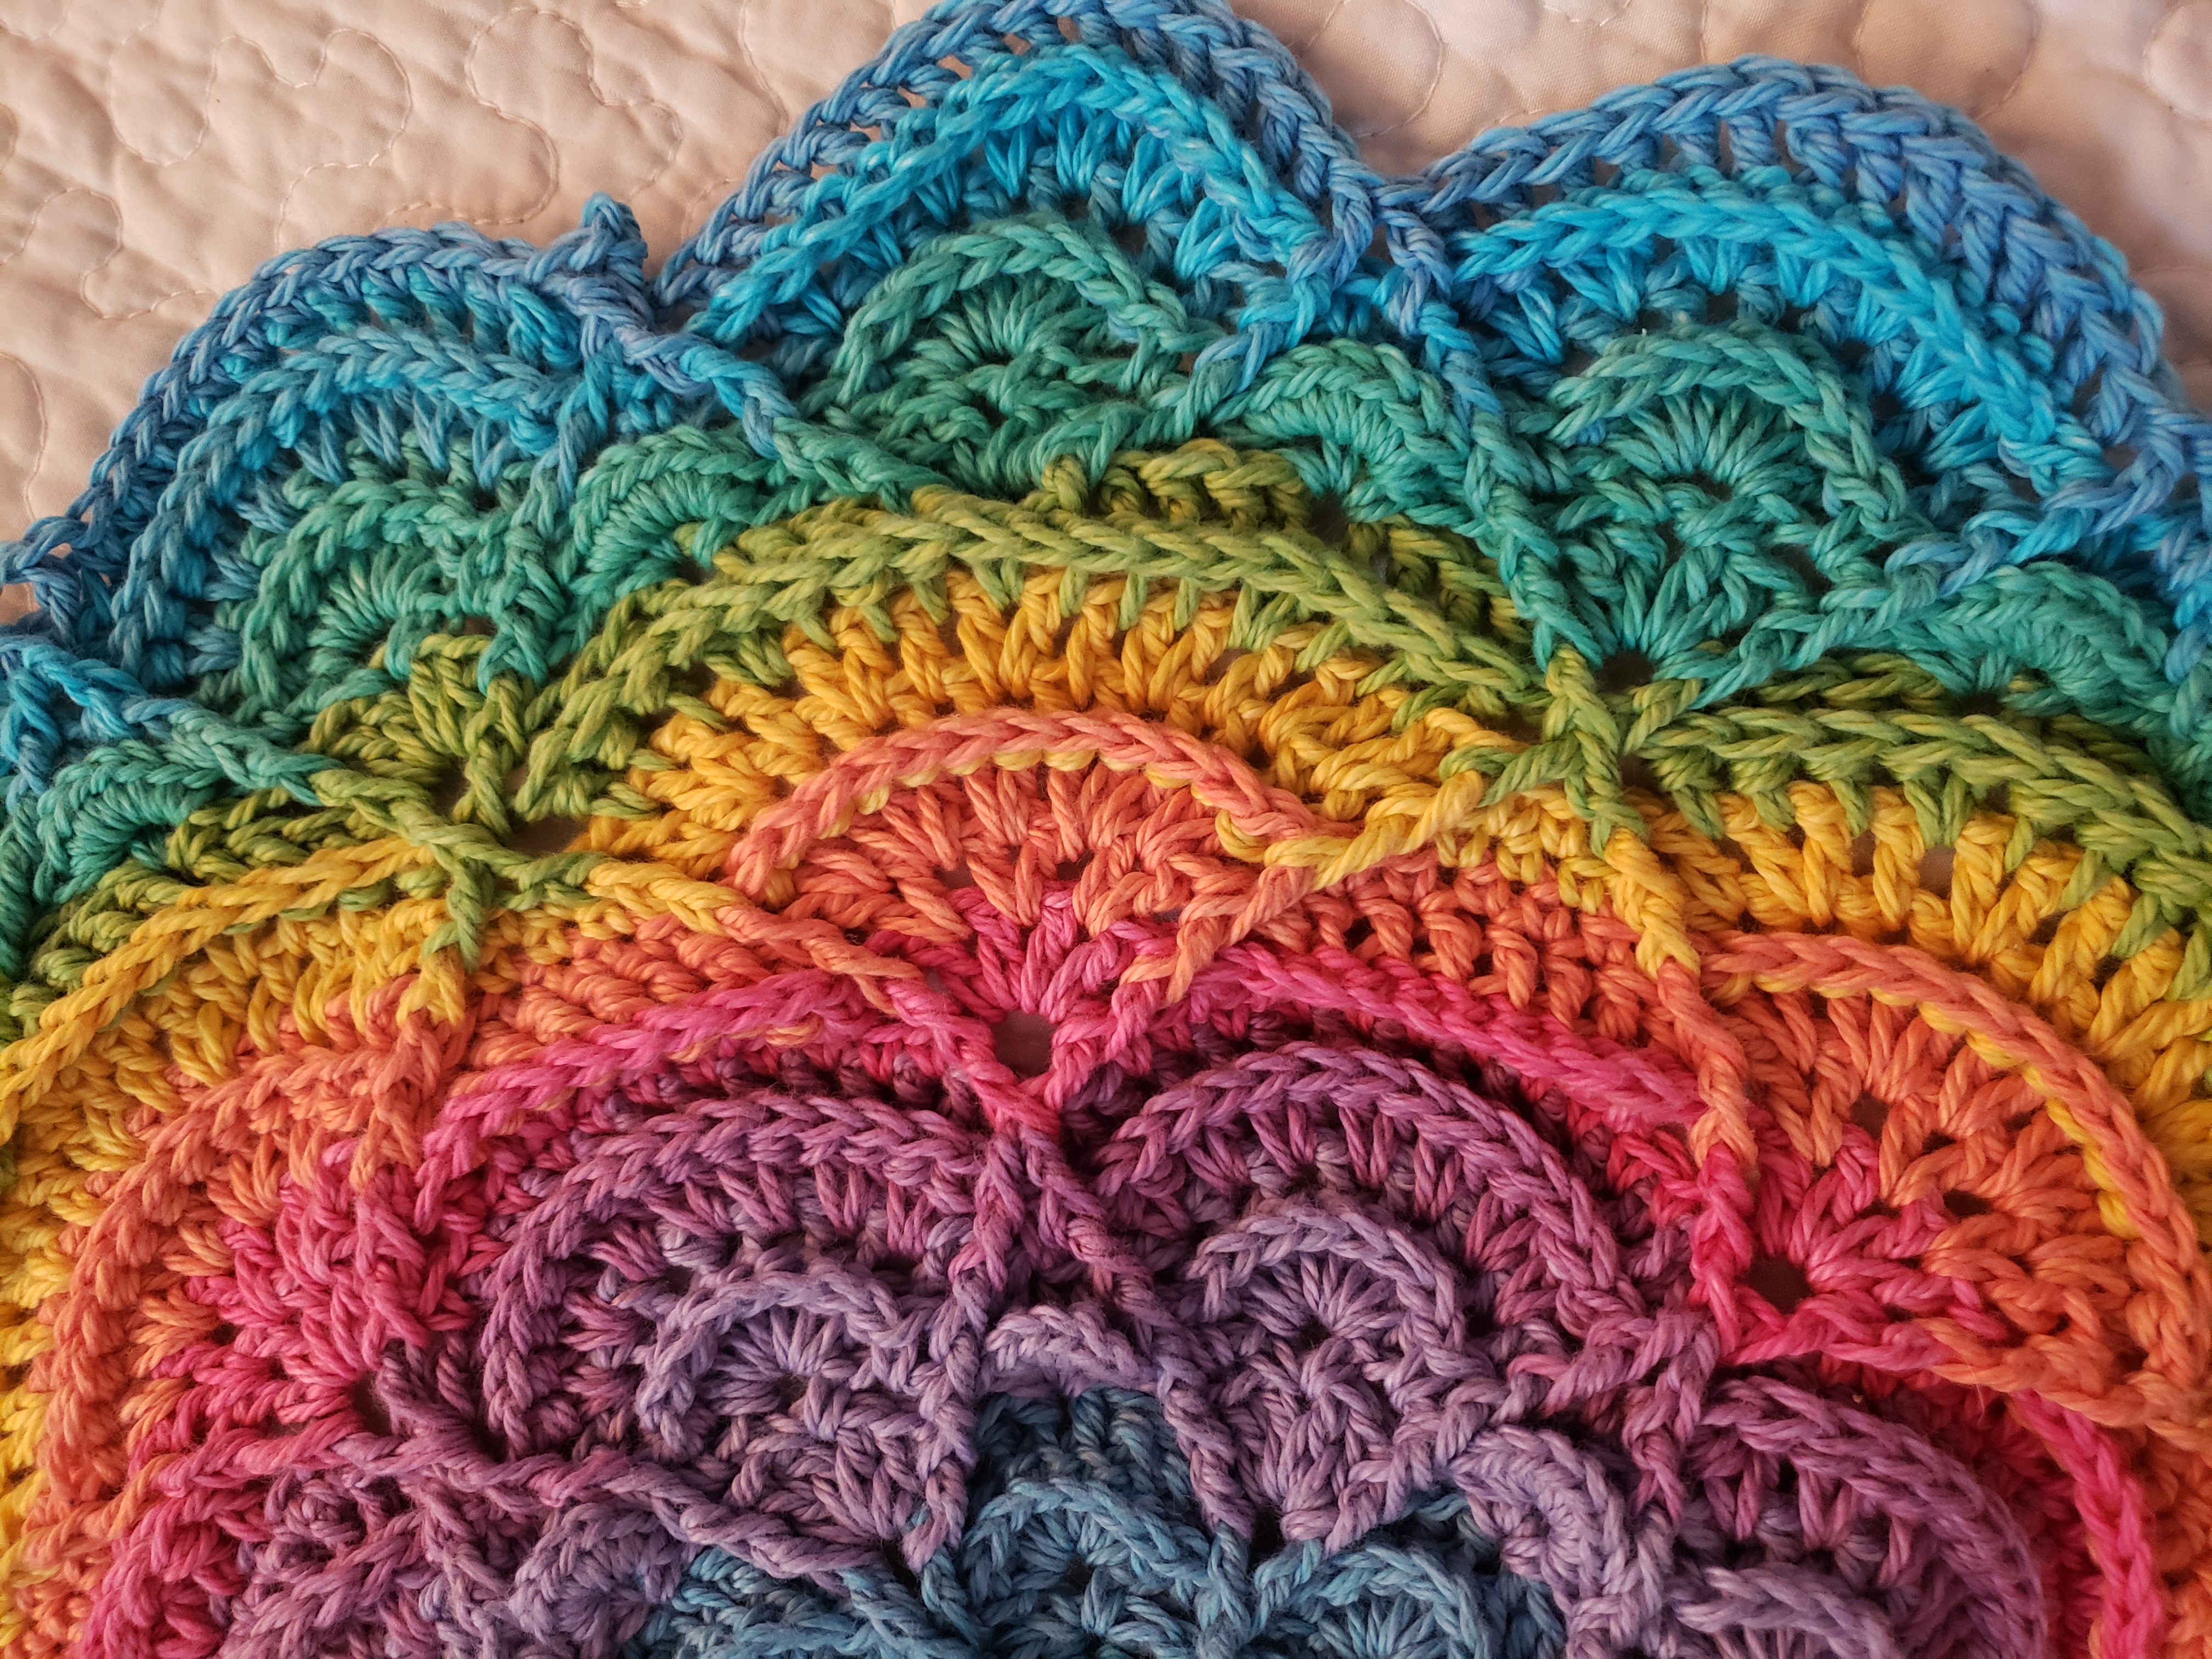
Once you have stitched completely around the motif, you will form the left arch of the pattern. For the first couple of stitches make surface slip stitches between the posts of topmost left hand stitches, then move into the base of the stitches and follow the curve nearly to the bottom of the motif, now once again work your final two stitches between the posts until your stitches meet up with the bottom of the motif. *Note: Stitch count is not important here, it’s more important to find an arched patch from the top to the bottom of the motif that allows you to make even stitches. Feel free to stylize your surface stitches, have fun with it!

Now work 4-5 stitches DIRECTLY OVER 4-5 of the surface stitches along the bottom of the motif. You are going to make the other side arch (right side when looking at the finished motif) but you need to get your yarn over there by traveling across the bottom stitches. By stacking your stitches along the bottom you also get a lovely solid base on the motif.

Right arch: Just like the first arch, you will work your first couple of surface stitches in between posts, and then move to working in the base of the stitches following the natural circle almost to the top, work your last couple of stitches in between posts again.
This process of working between posts and into the base of the stitches creates broader more natural looking arches that follow the shape of the outside of the motif making it more pumpkin-like. (If you followed the creation of this motif as it developed on Facebook, you will remember that the first version was “unintentionally Georgia O’Keeffe” in nature, due mainly to the placement of the arches. So be careful out there folks, you could make a pumpkin…or something else.)

Work 1-2 stiches OVER the top surface stitches again until you come to the middle of the motif. Now work surface stitches straight down the center of the motif until you reach the bottom. Finish off and weave in ends, we are done with the pumpkin surface details!

Stem: Join the stem color 2 stitches to the right of center on the top of the motif. I join my yarn and make my stitches in the BASE stitches of the piece, not into the surface stitches. It makes for a neater overall look.

Single crochet into the next 3 stitches, turn your work.

Sc decrease, sc into next stitch, turn your work.

Sc into each of the next 2 stitches, turn your work.

Sc decrease, turn your work to front to see shape and make adjustments if you want to make it longer or shorter, etc..

Finish off and weave in end.

Tendril: Choose your tendril color and chain 10.

sc into second chain from hook,

2sc in each of the remaining 7 stitches.

As you work you will see the piece curl.

When you have completed your stitches, stretch out the tendril by pulling on both ends. Feel free to adjust the tendril to be shorter or longer.

Attach the tendril to the top of the pumpkin (I used a tapestry needle for this type of work.) If you want to secure the tendril in place, you can also add a stitch to the bottom of the tendril to the body of the pumpkin.


Yarns used were Hobbii cotton, Rainbow and Friends lines. They are bright, gorgeous, soft, and if you use both of them together you can have an amazing palette. As far as use, they are identical in weight and feel. The photo above shows blue yarn but in reality it is purple (thanks terrible phone camera).
2 thoughts on “Pumpkin Motif (Perfect for the Granny Scare Granny Square)”
Leave a Reply
Popular Posts
 Skull Motif Madlandia Style
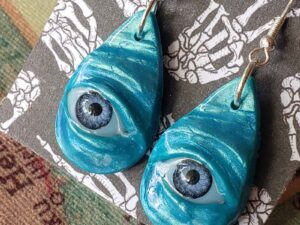
  Tiny Puddle (Part 1 of Reflections CAL)
  Flower Puddles & Ripples Blanket
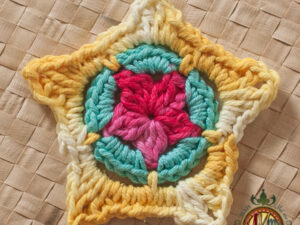
  Star Light Star Bright
 Portfolio of Works


")


")


fantastic
Thank you, if you give it a try, feel free to share your pics on FB or IG and tag #Madlandia so we can see your work.