CAL
CAL Crochet Hooks
 Etsy Patterns
 Ravelry
 FREE
FREE
Free Crochet Christmas Ornament Pattern
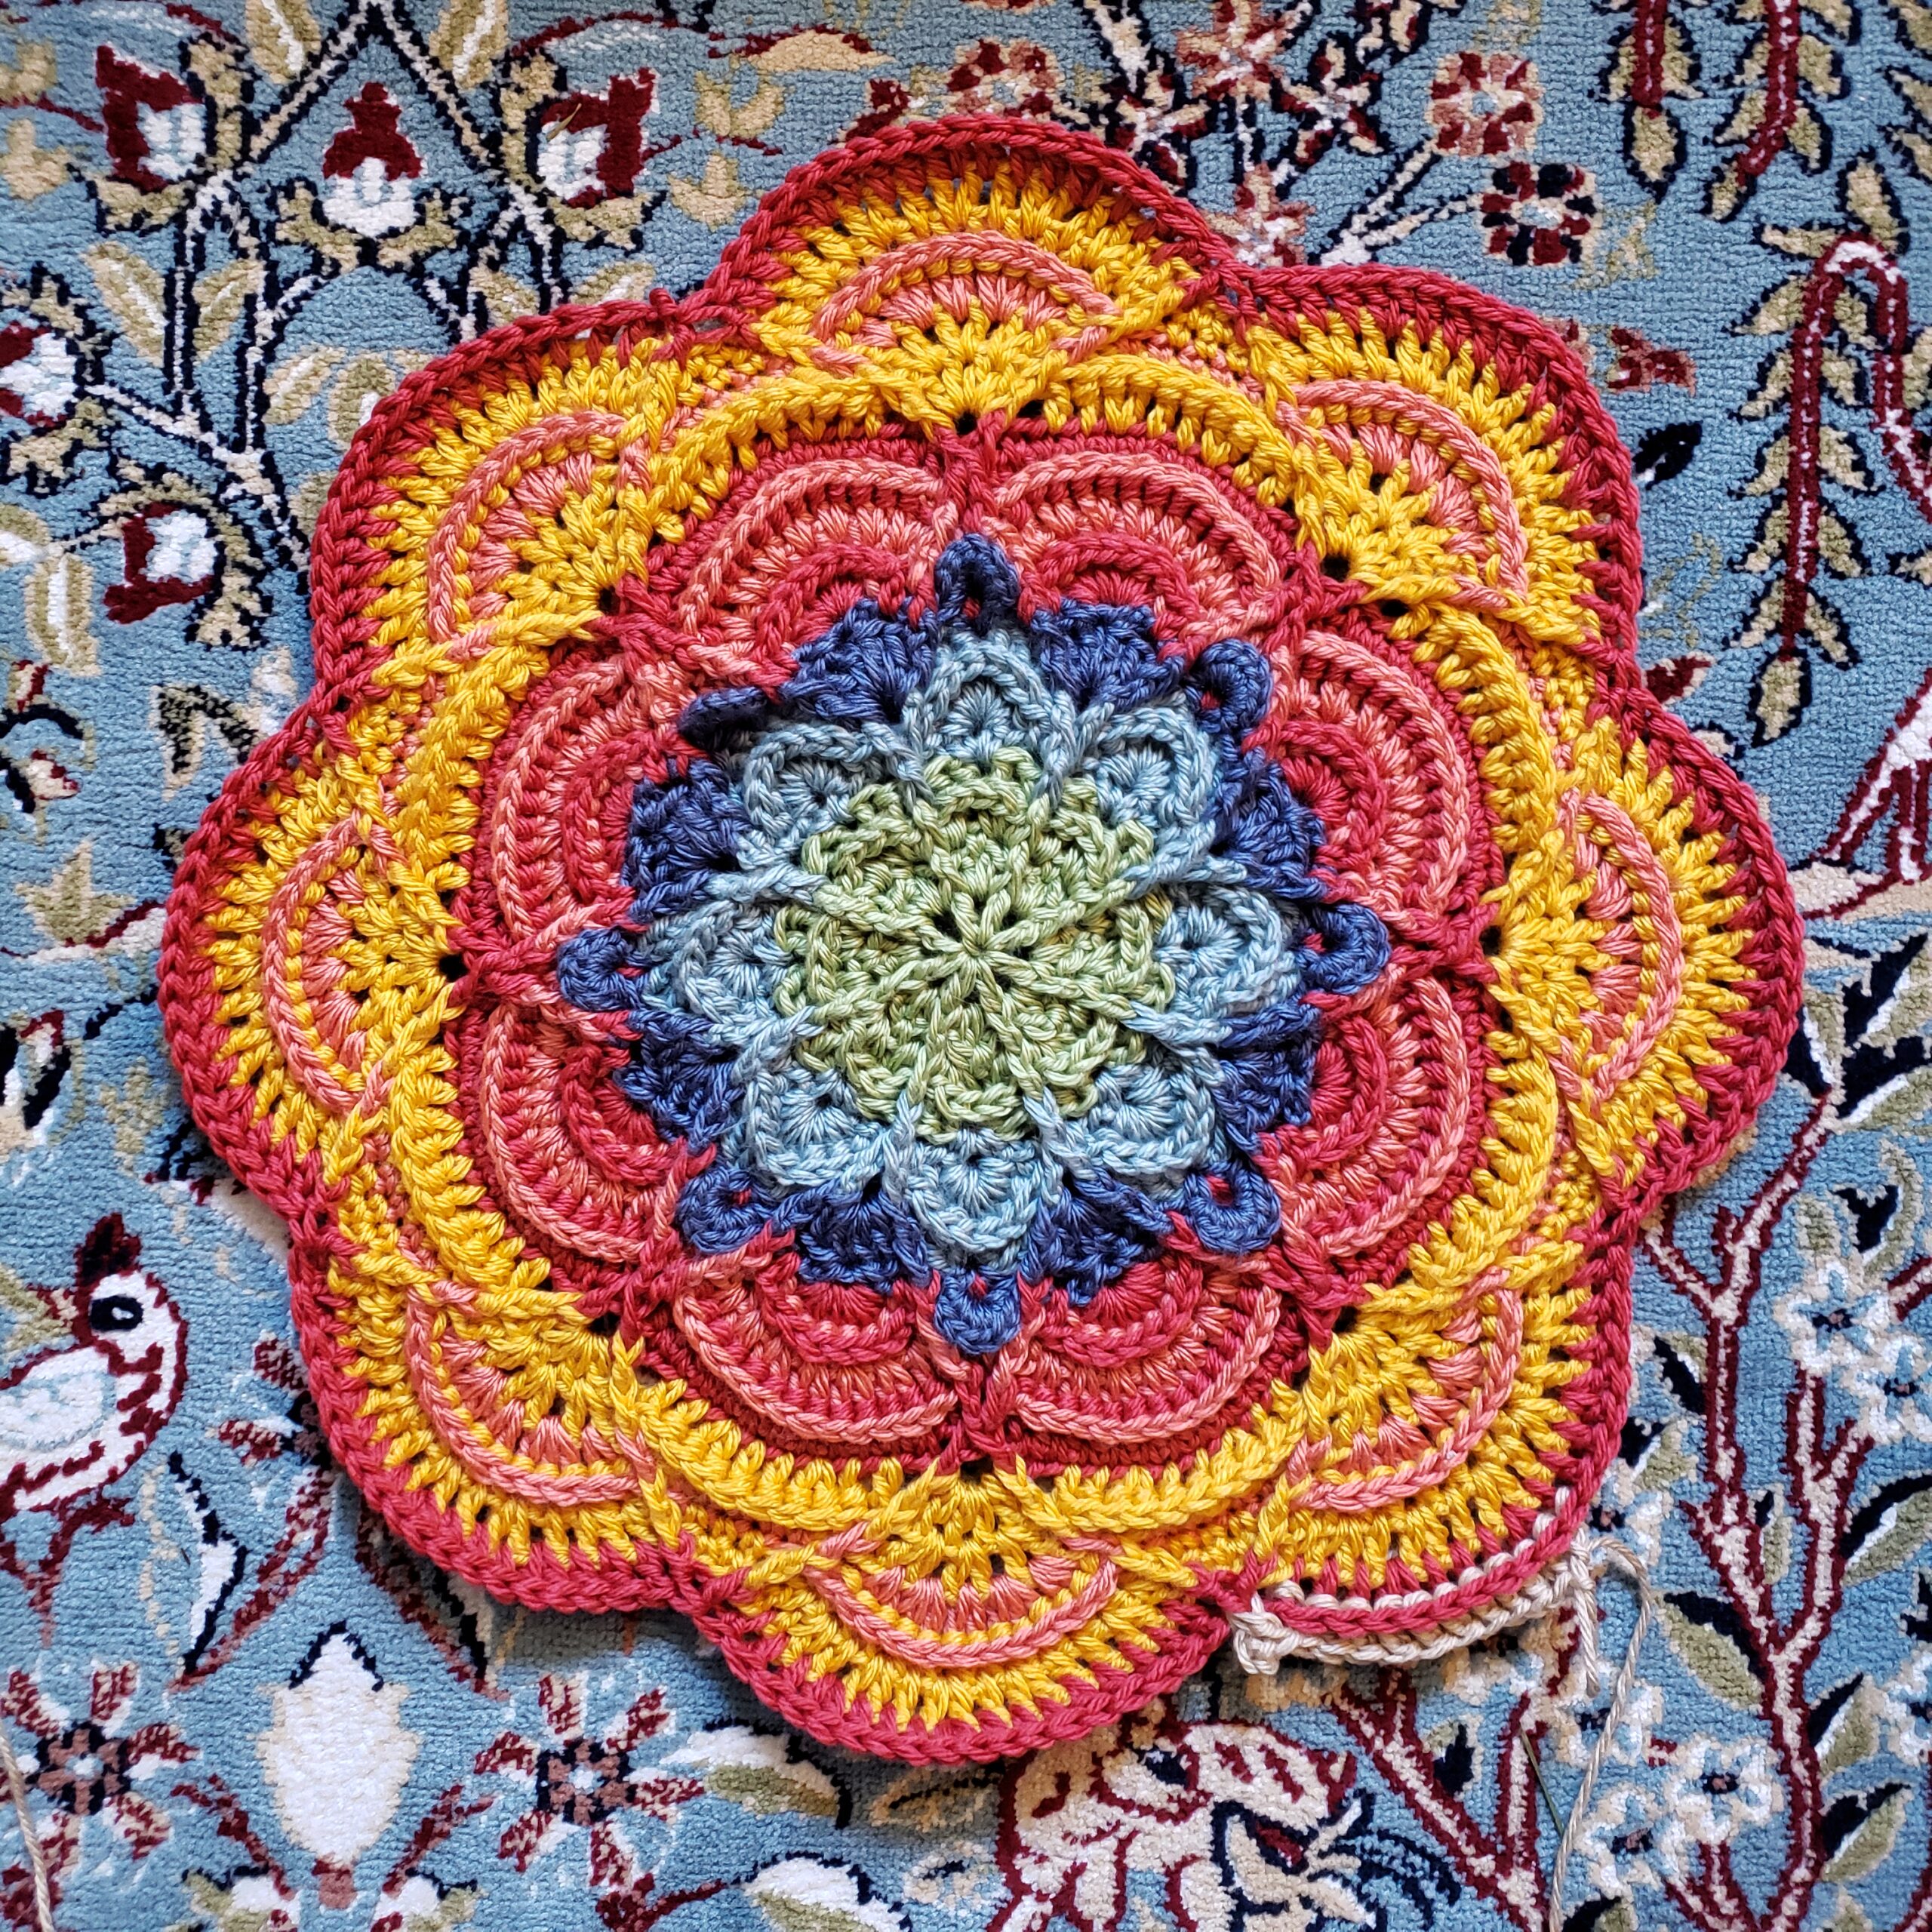
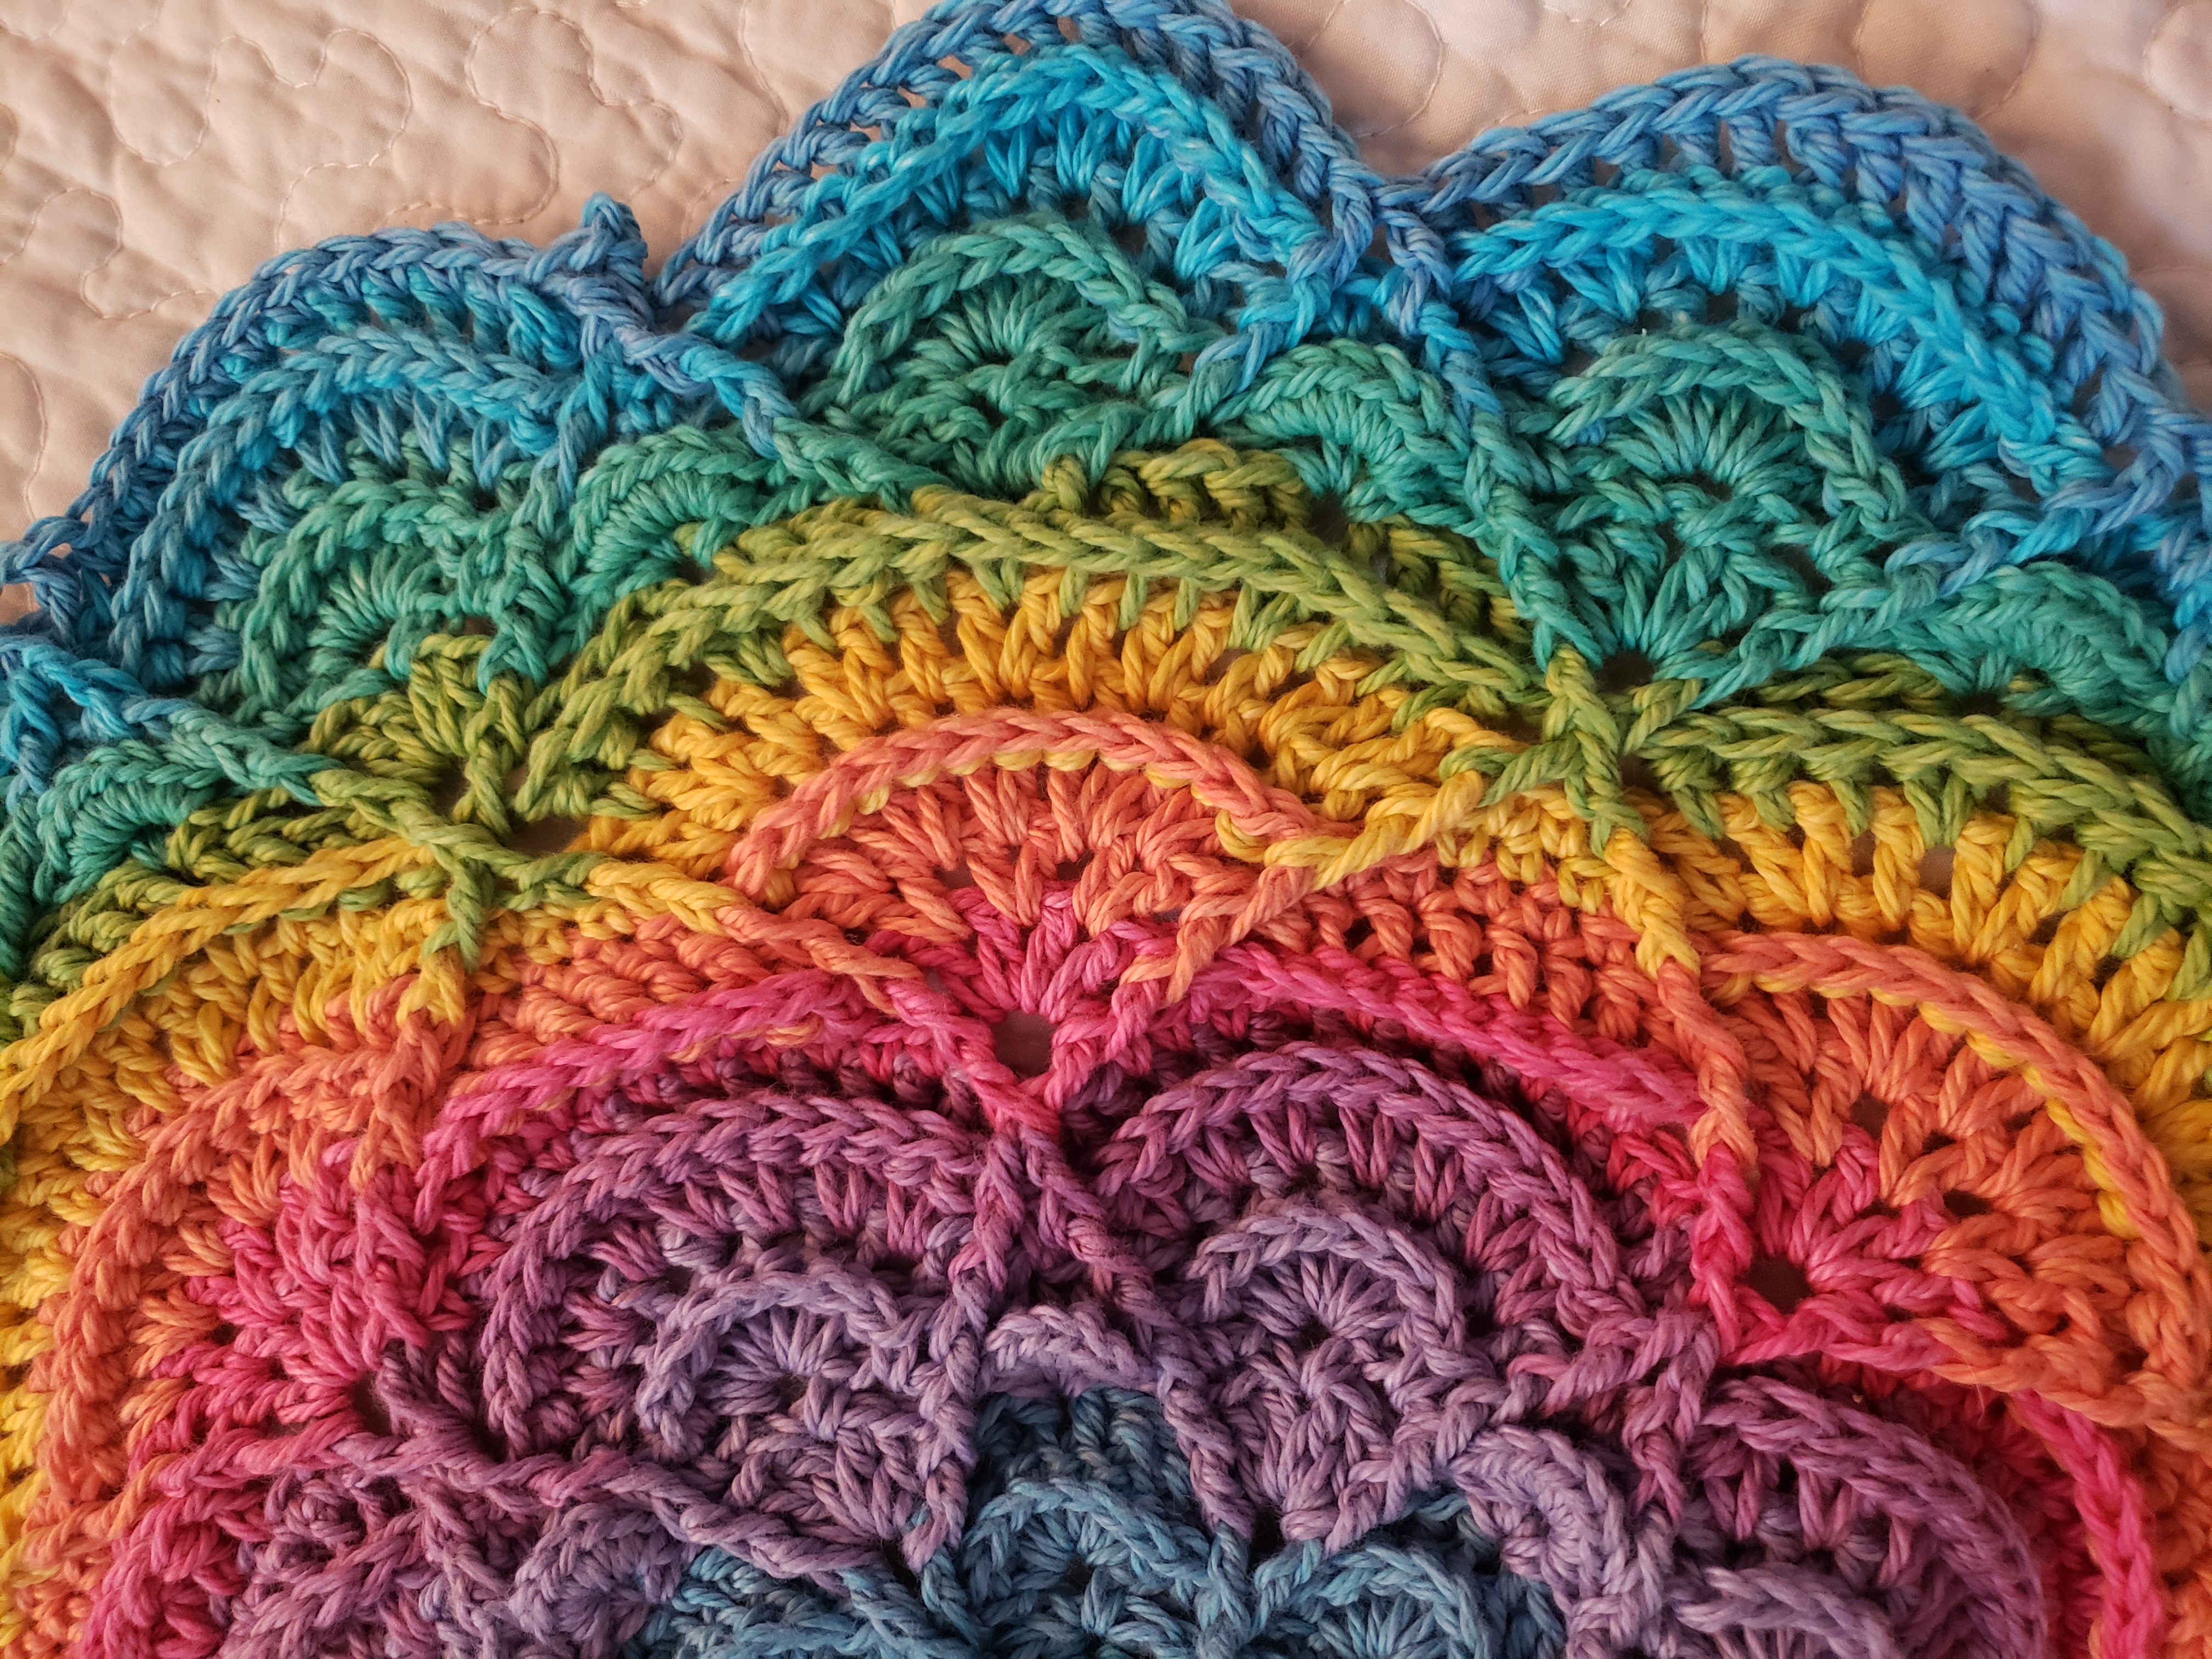
Ornaments for all seasons is my motto but I know that most folks are looking for bright little bobbles for their trees at Christmastime. Here is a quick and simple ornament that you can whip up in 5 steps!
I do not go into great detail to explain things like the adjustable ring vs making a loop with chain stitches to start projects made in the round. I will also leave it up to you to decide if you would like to finish each round with a slip stitch vs an invisible join, along with leaving the method for joining new colors up to you. These are basis crochet methods and easily found in several place on the internet. Additionally, I often employ multiple methods in one project and really believe that these choices are completely up to the maker to decide. So do what is comfortable for you!
Instructions:
You will need four colors of yarn to make an ornament like the one pictured. The result are really nice if you choose two dark colors and two light colors so you can get the most contrast as you switch yarns. In addition to basic crochet stitches, you will also need to know how to do simple overlay stitches and outline the ornament with a whip stitch (these steps will be spelled out in Round 5).
You will need:
- A few yards each of four different colors of 4 weight cotton yarn
- 4.5mm hook
- Smaller hook (3.5mm or 4mm will work)
- Tapestry needle
- Scissors
")
")
")
")
 Skull Motif Madlandia Style
  Tiny Puddle (Part 1 of Reflections CAL)
  Flower Puddles & Ripples Blanket
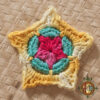
  Star Light Star Bright


")


")