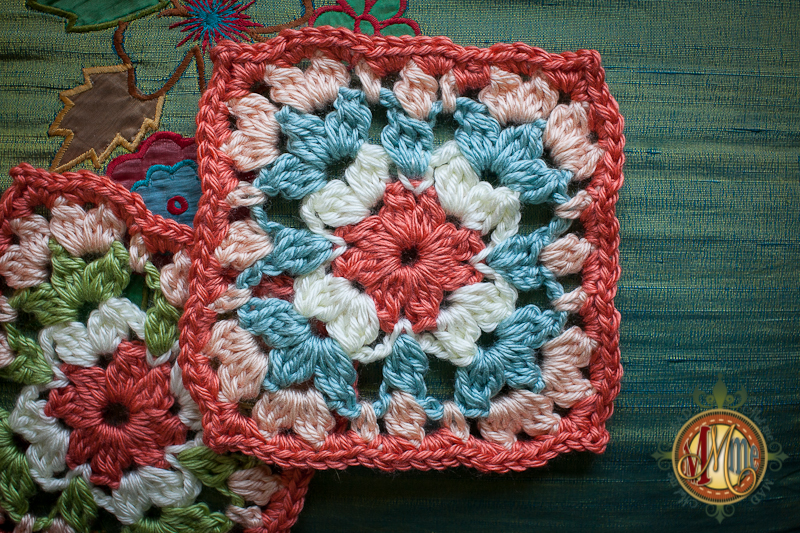
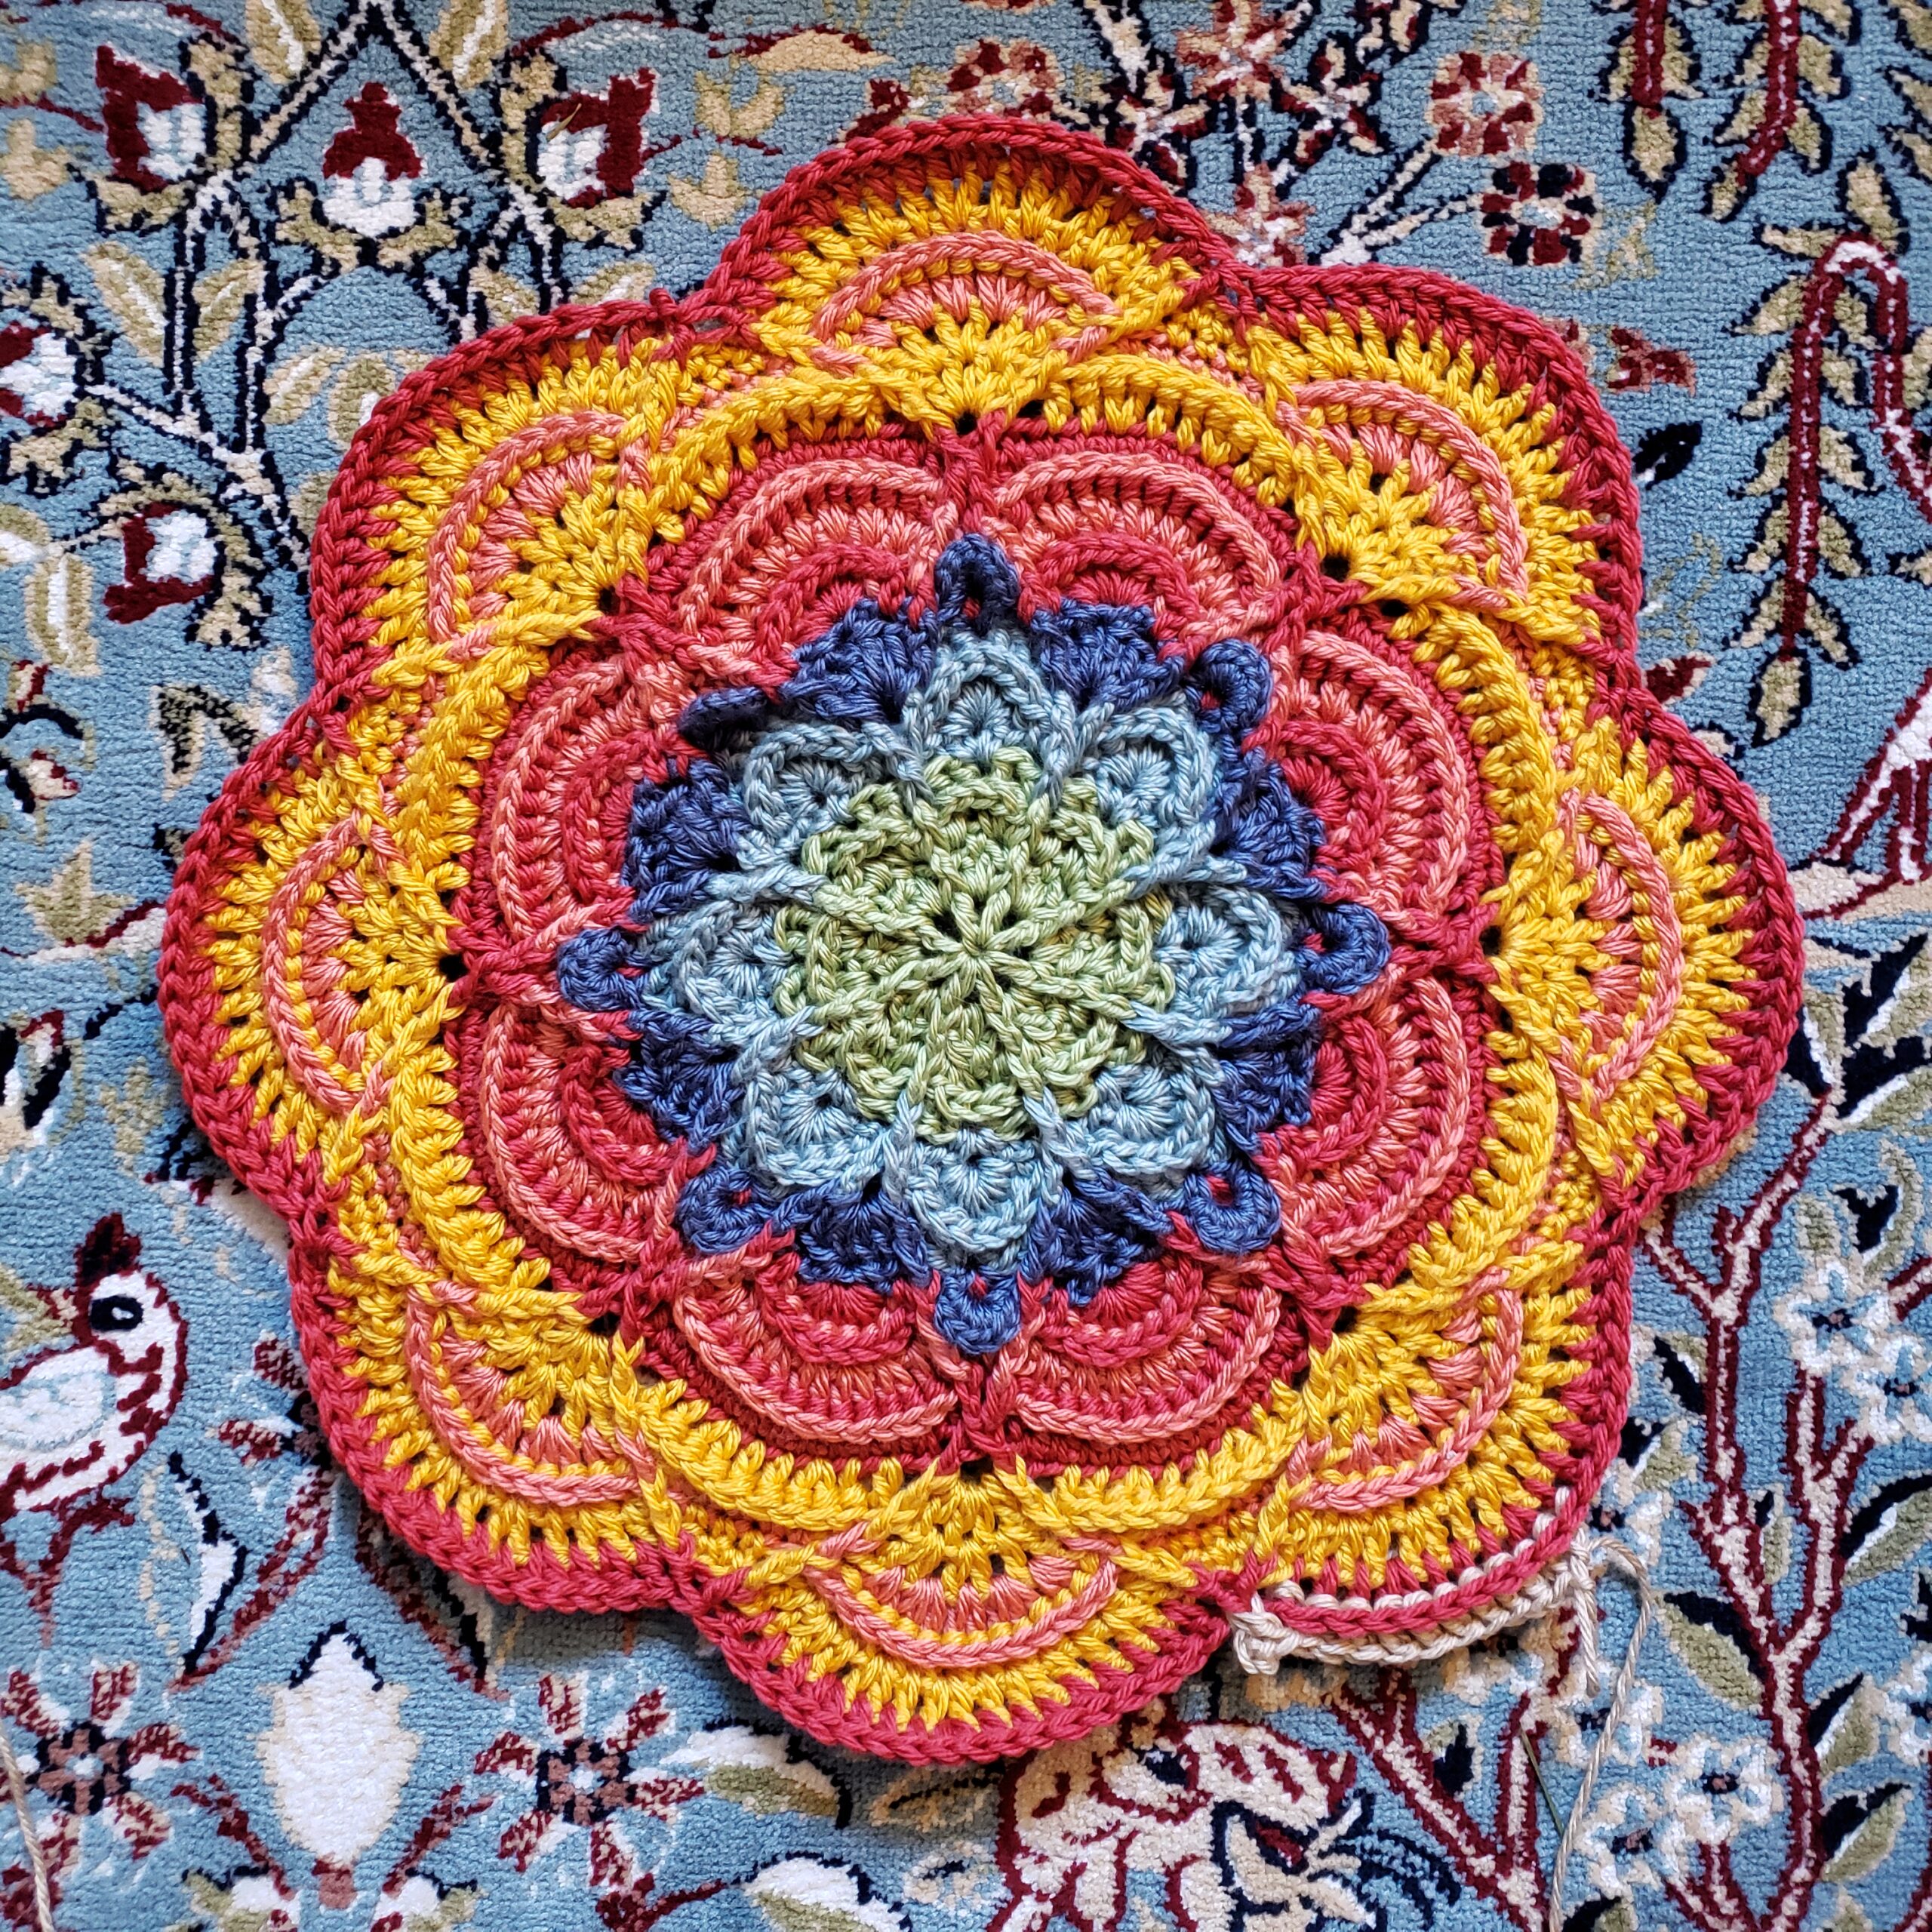
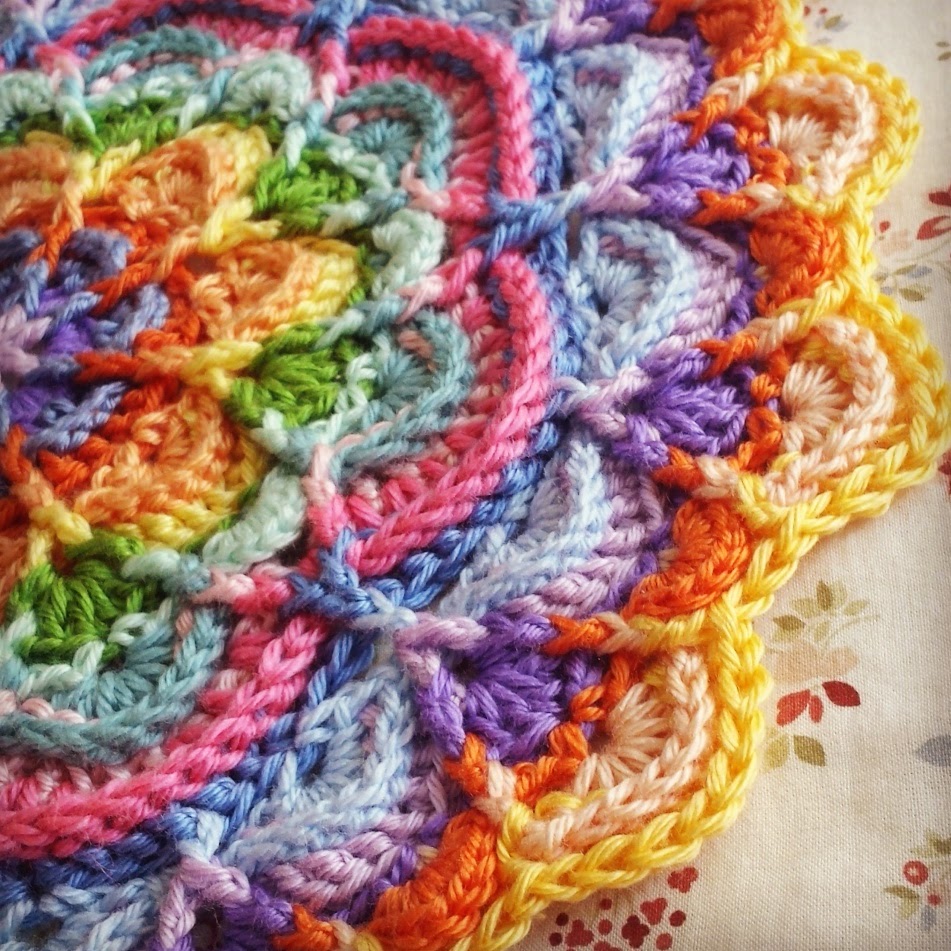
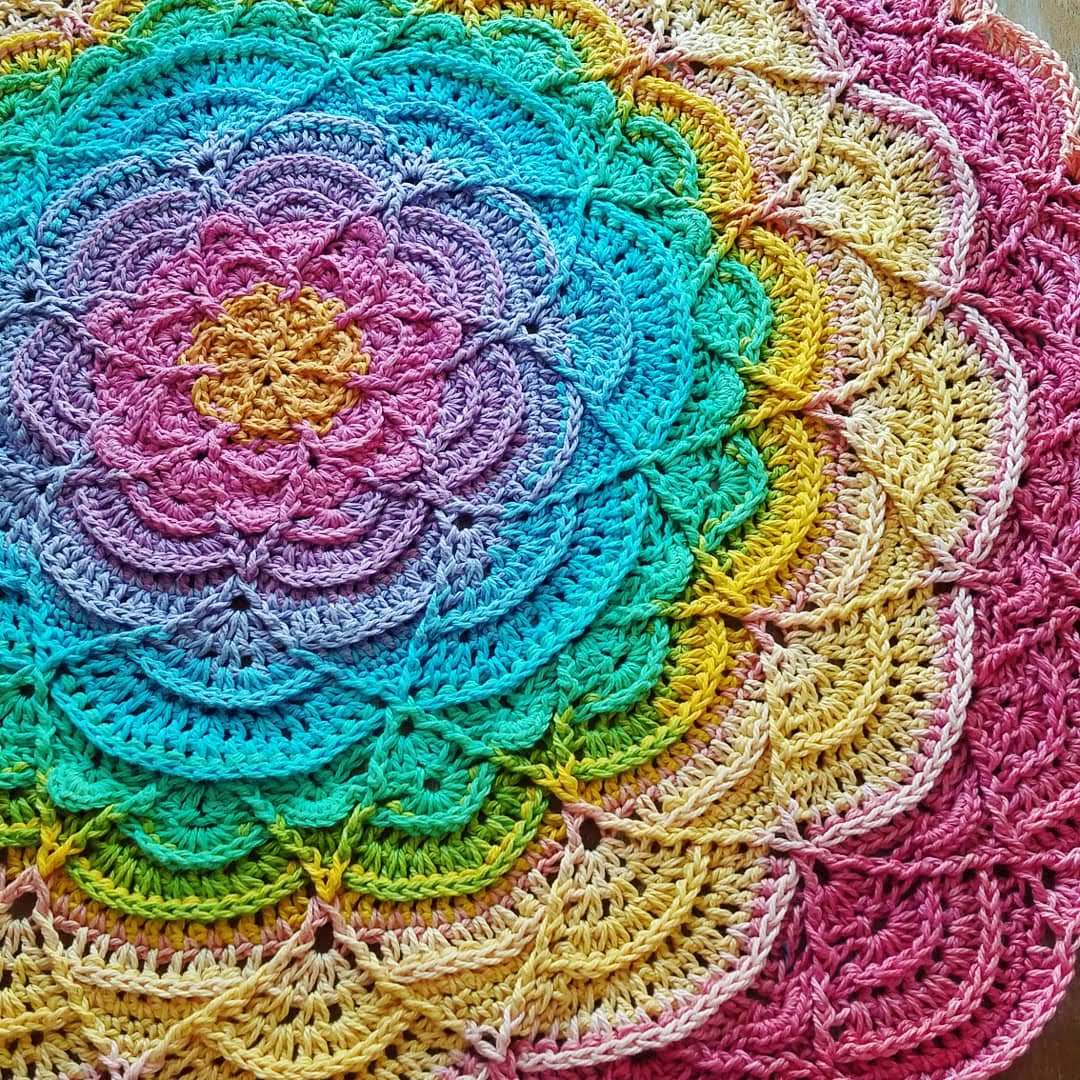
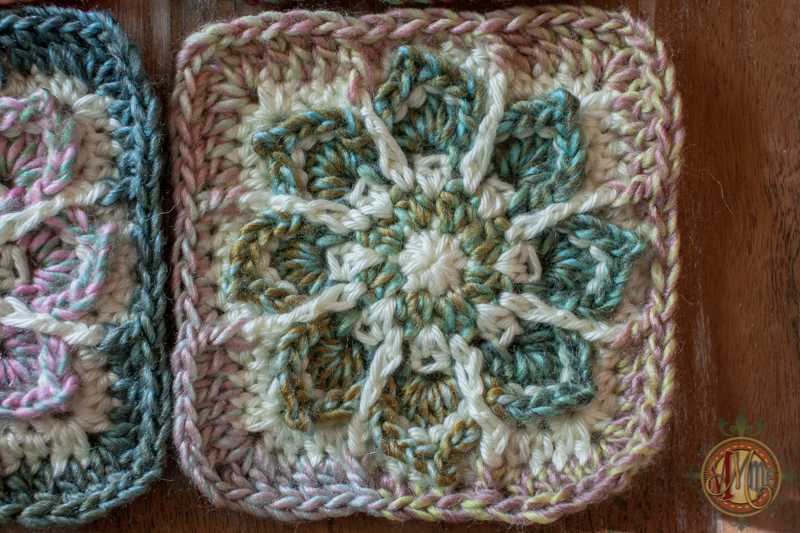
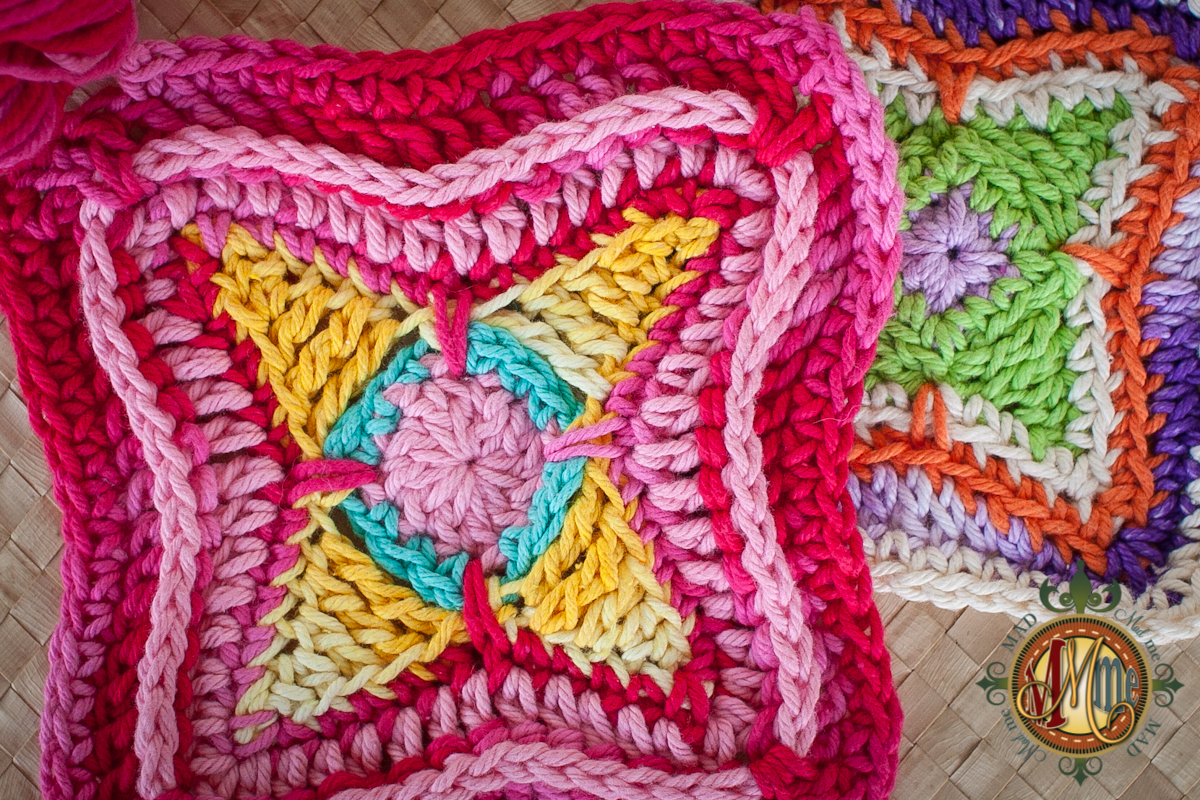
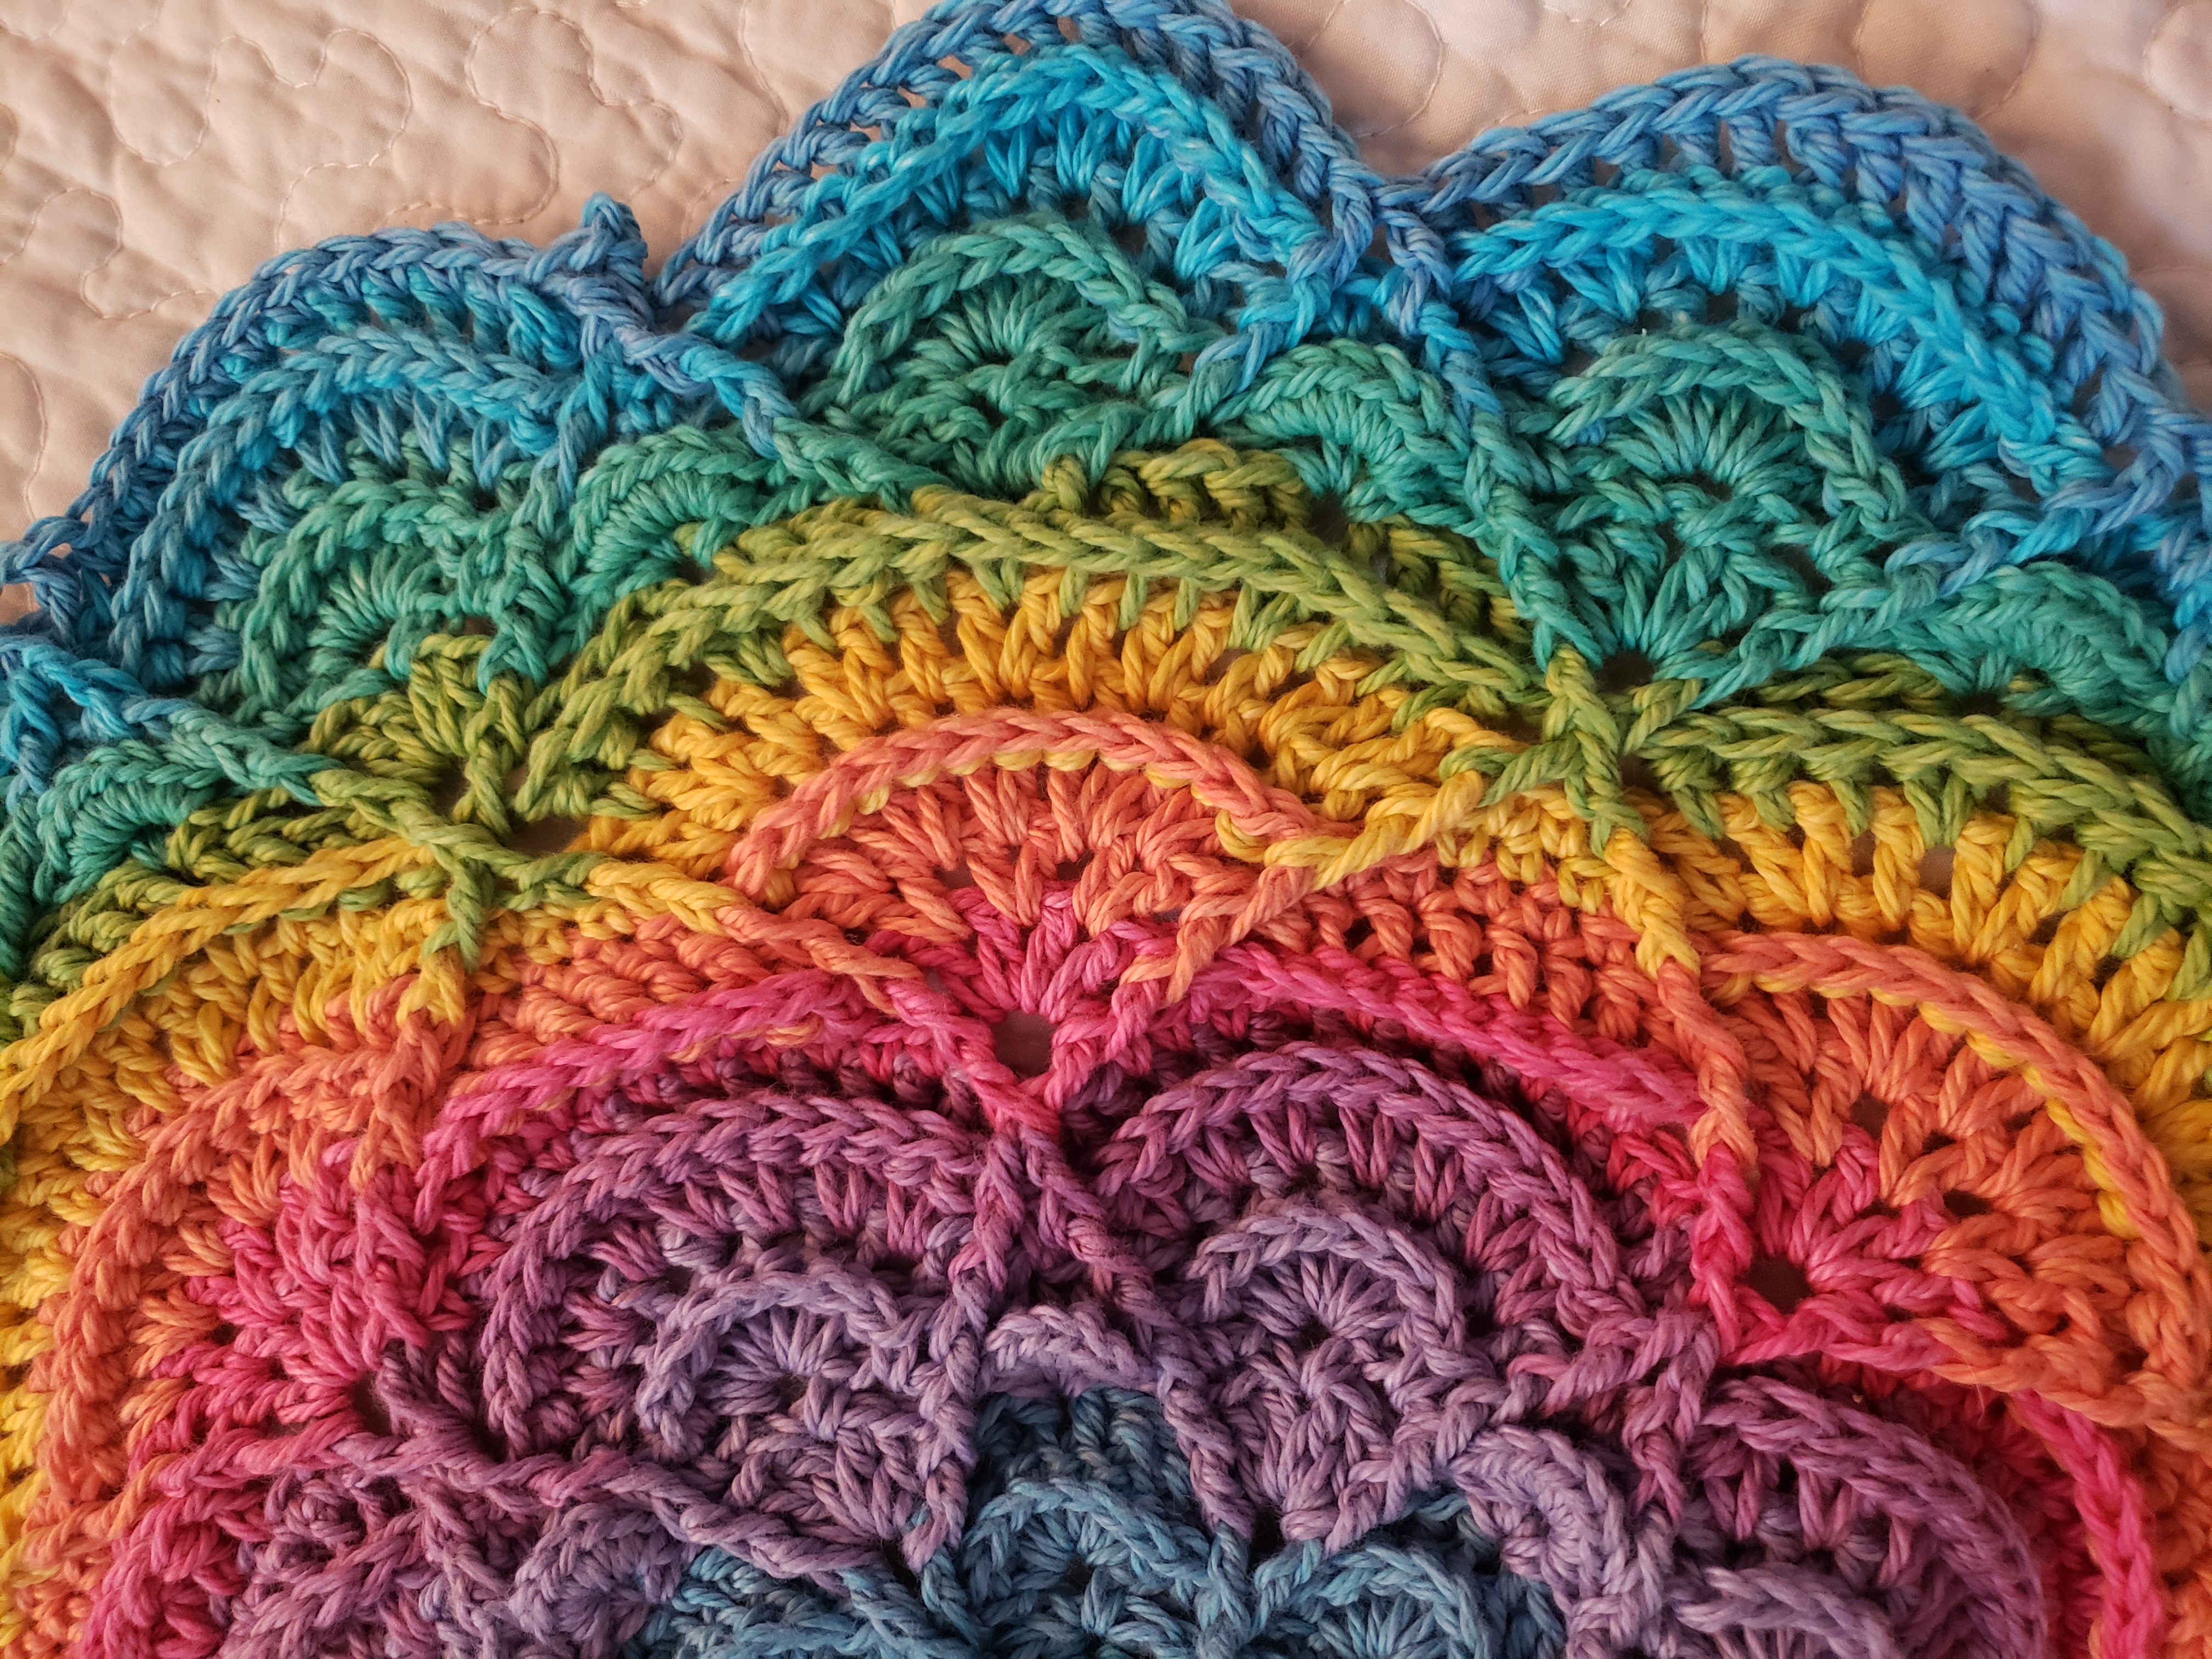
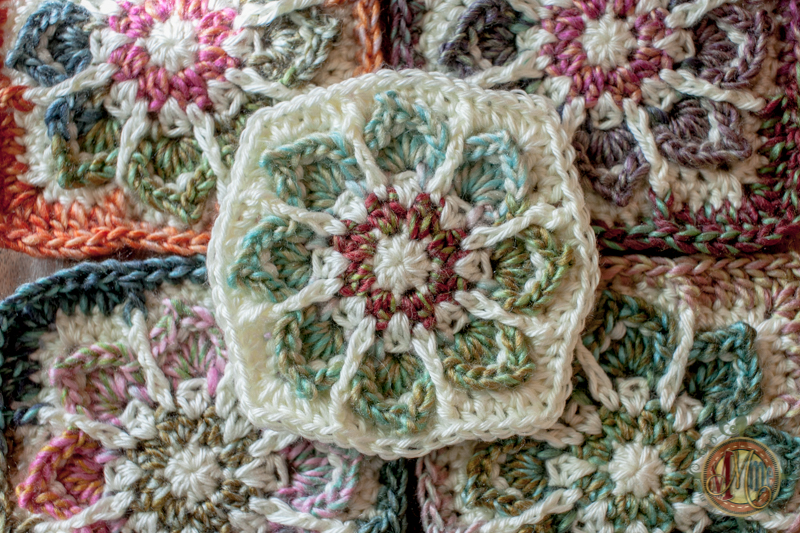
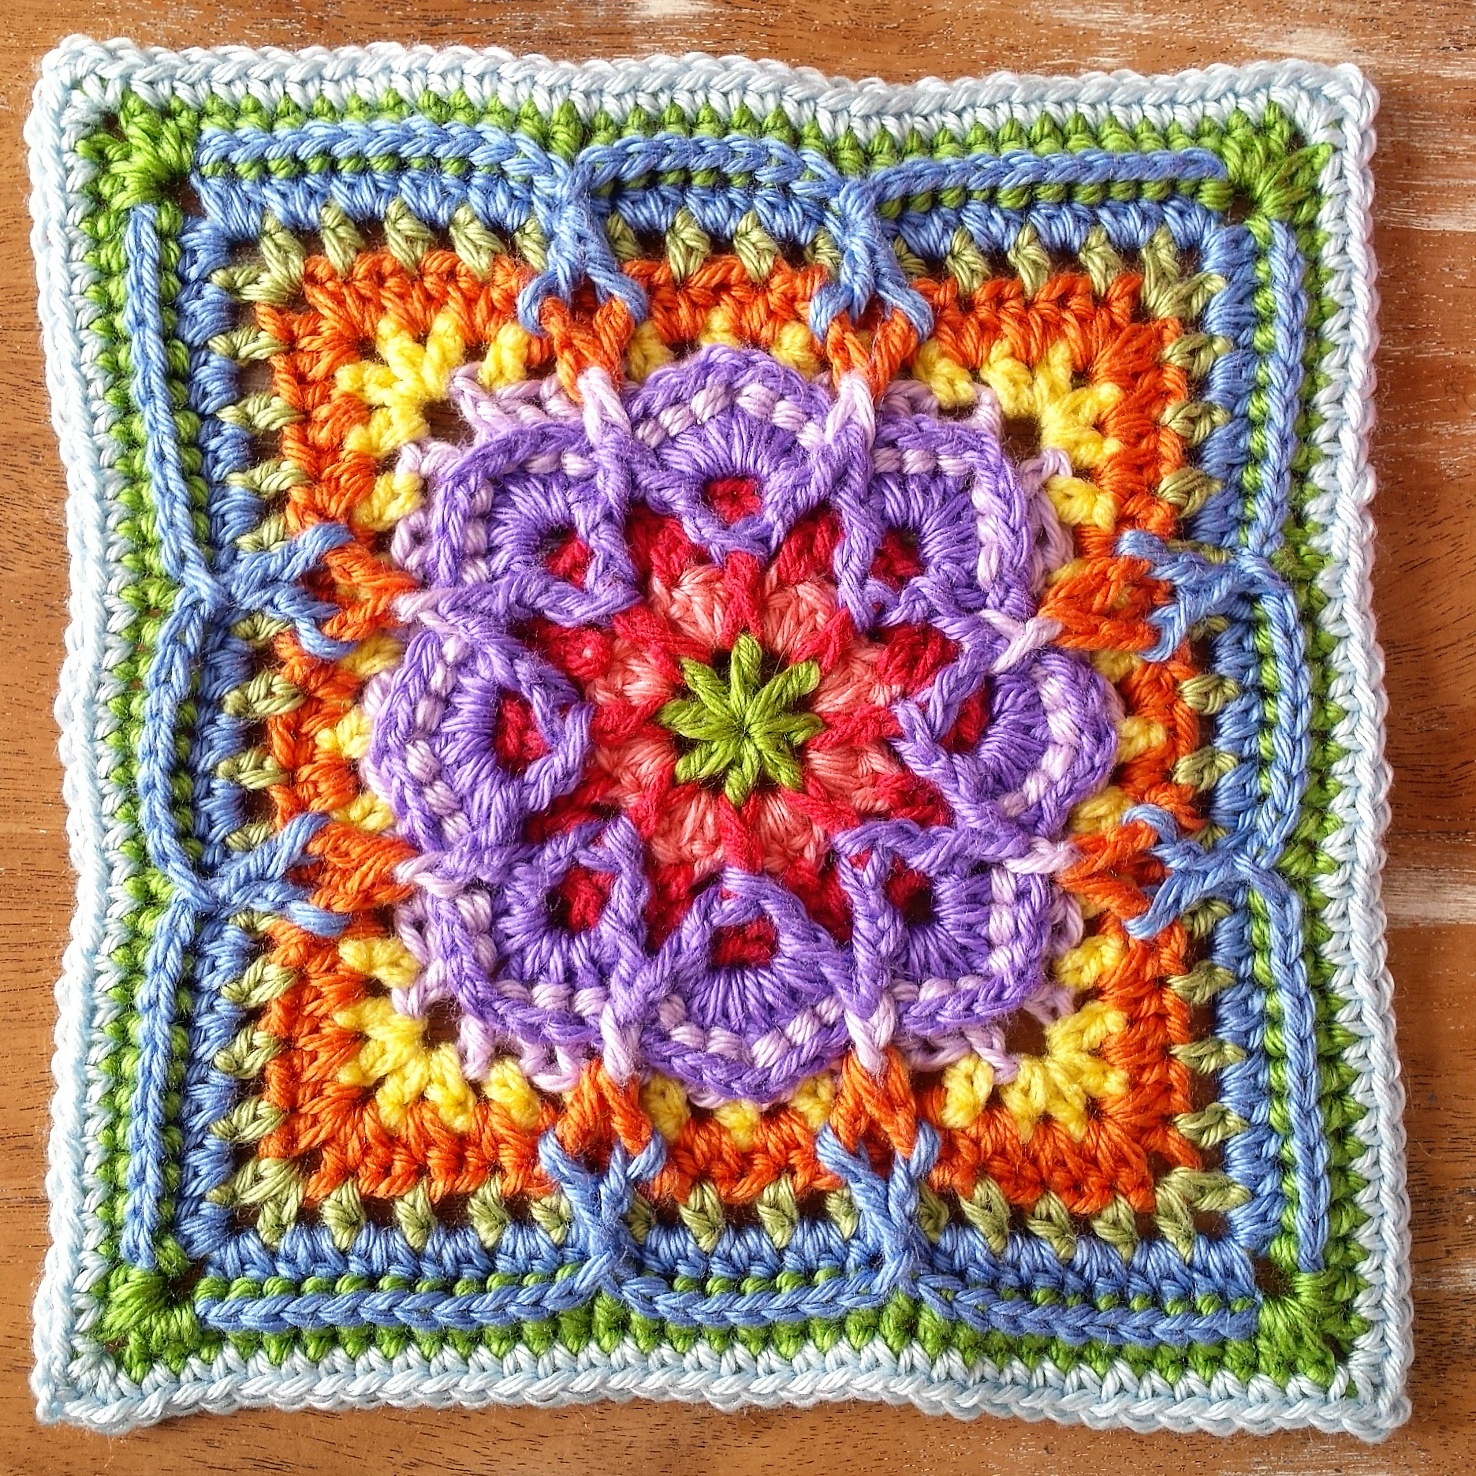
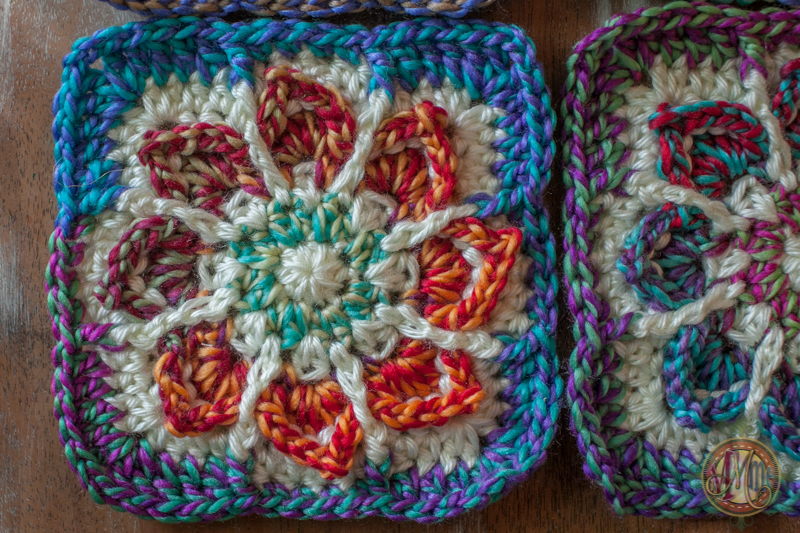
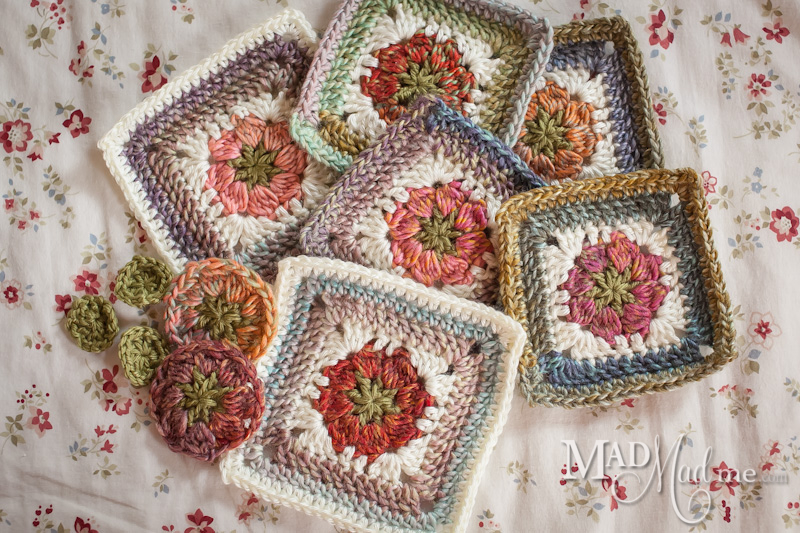
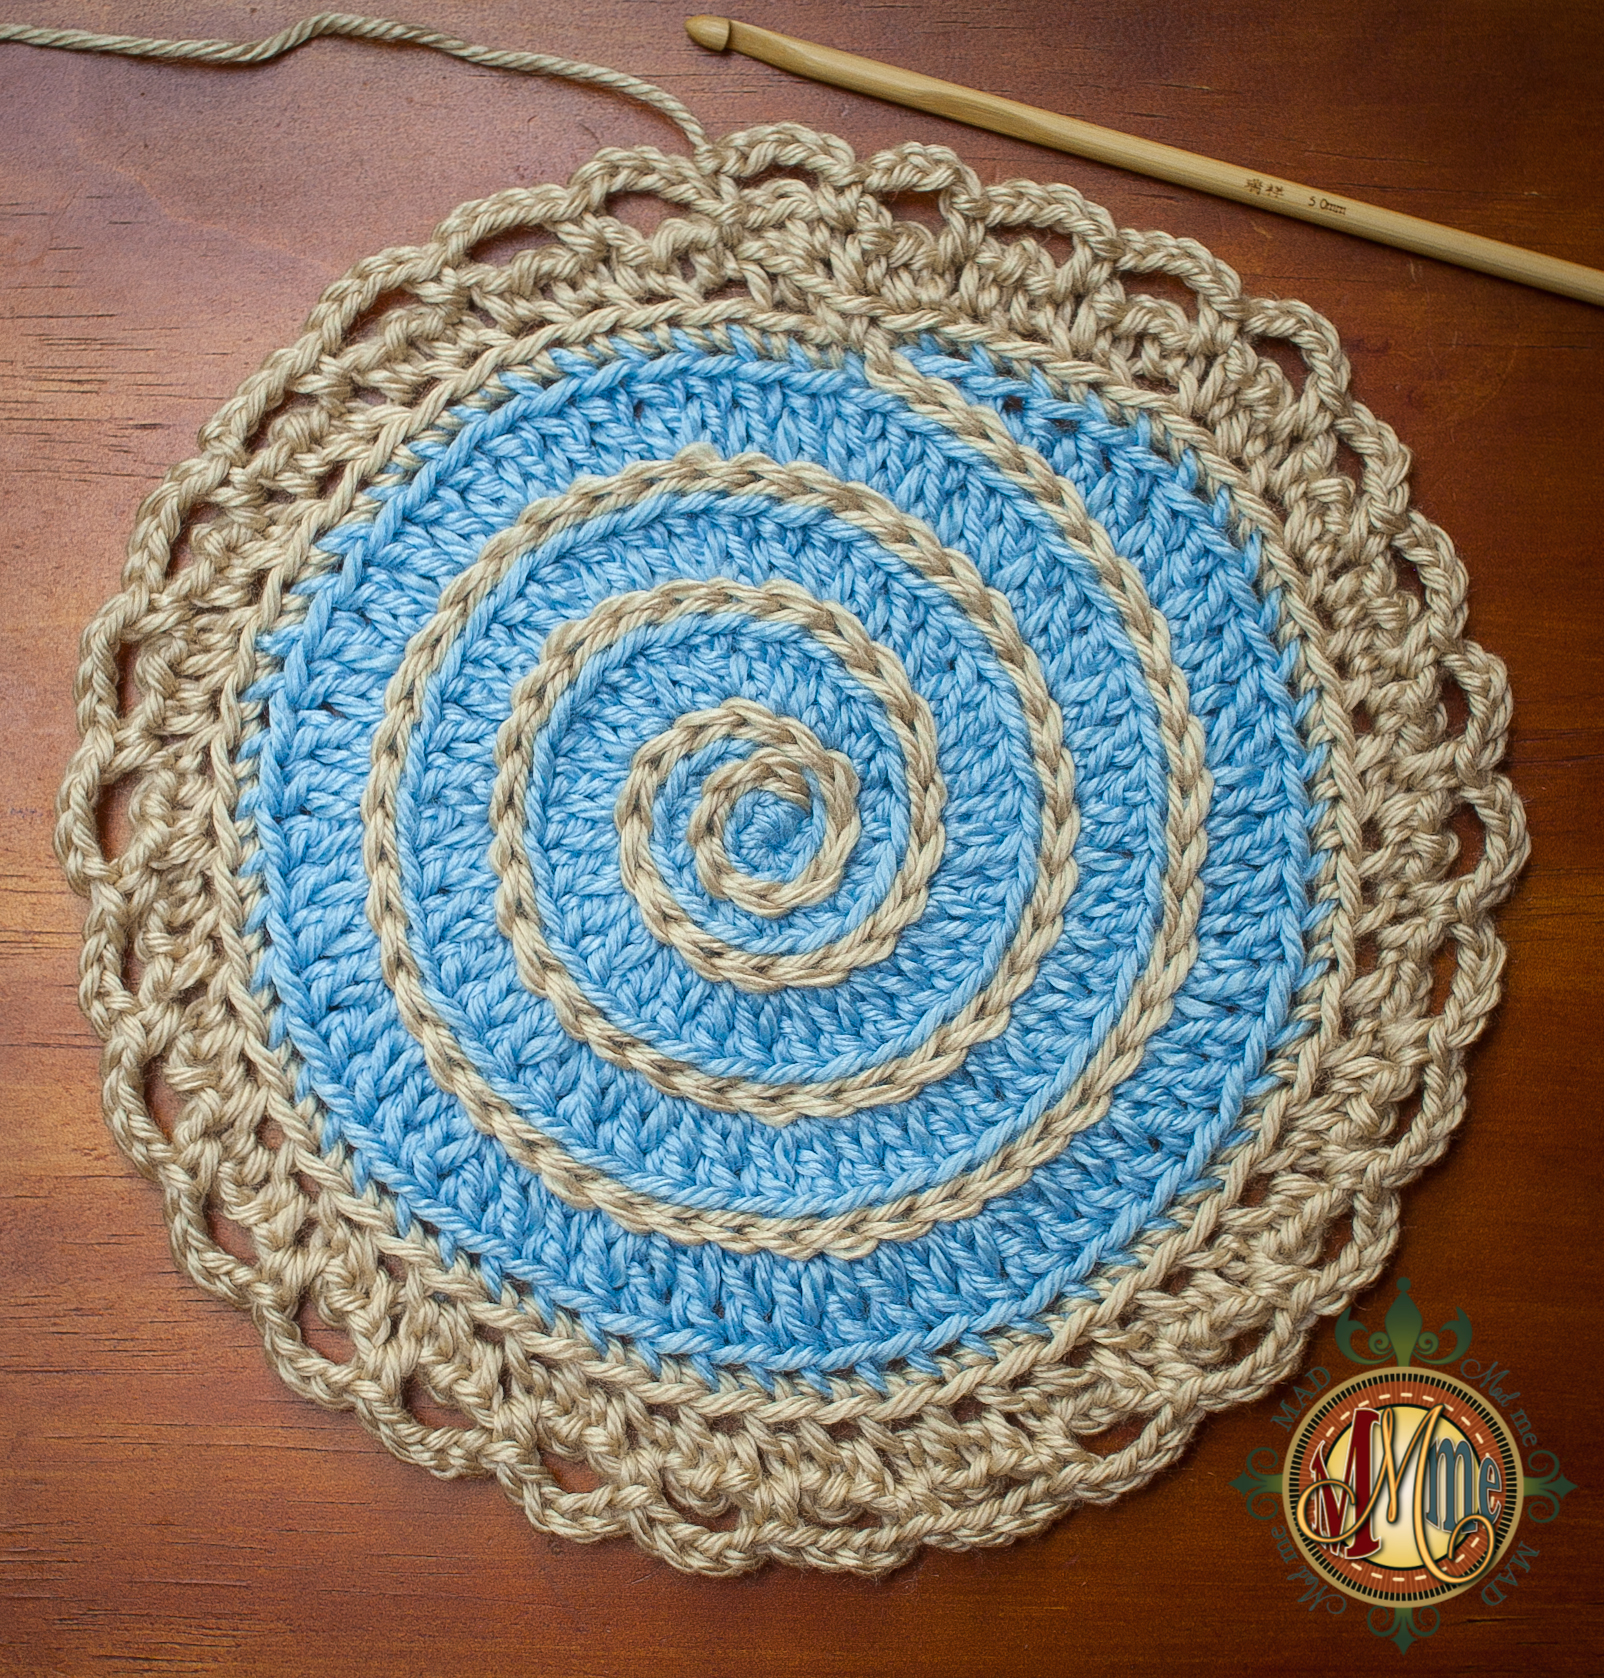
This Tiny Puddles pattern is just one in the Flower Puddles Collection.
Hook size: 4.5mm hook
Yardage: 20 yards
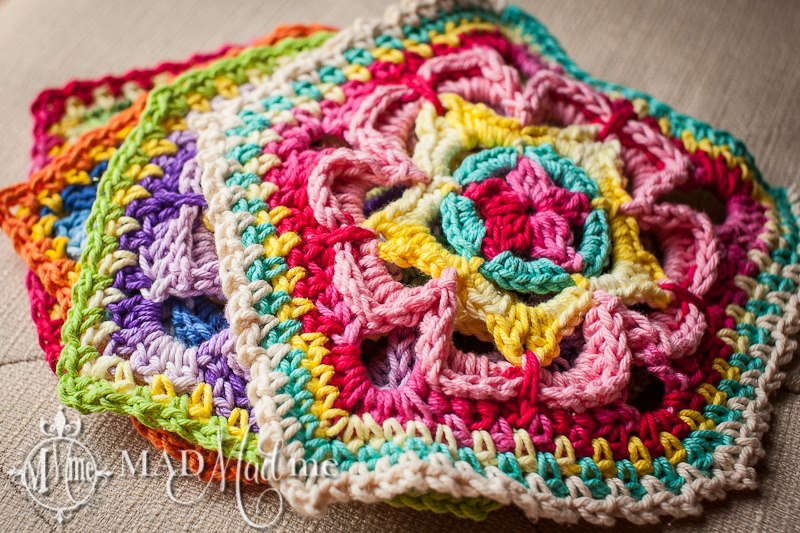
Yarn used in sample photos: 100% Cotton , DK worsted weight. Hue-Mongous Yarn is a robust DK yarn that falls on the thick side of a 3 weight.
Continuous Pattern: The pattern is written so that you can use one continuous yarn to complete the entire piece but if you prefer to change colors throughout, do so at the “join” of each Round to get the best results.
Hue-Mongous yarn color guide for tutorial below:
R1: Larry Salad (Dark Green)
R2: Wrong Lever (Deep Purple)
R3: Oh Kermie (Lime Green)
R4: Shrantastic (Cyan)
R5: Babble Fish (Yellow)
R6: Yorange (Yellow-Orange)
R7: Safety Dance (Orange)
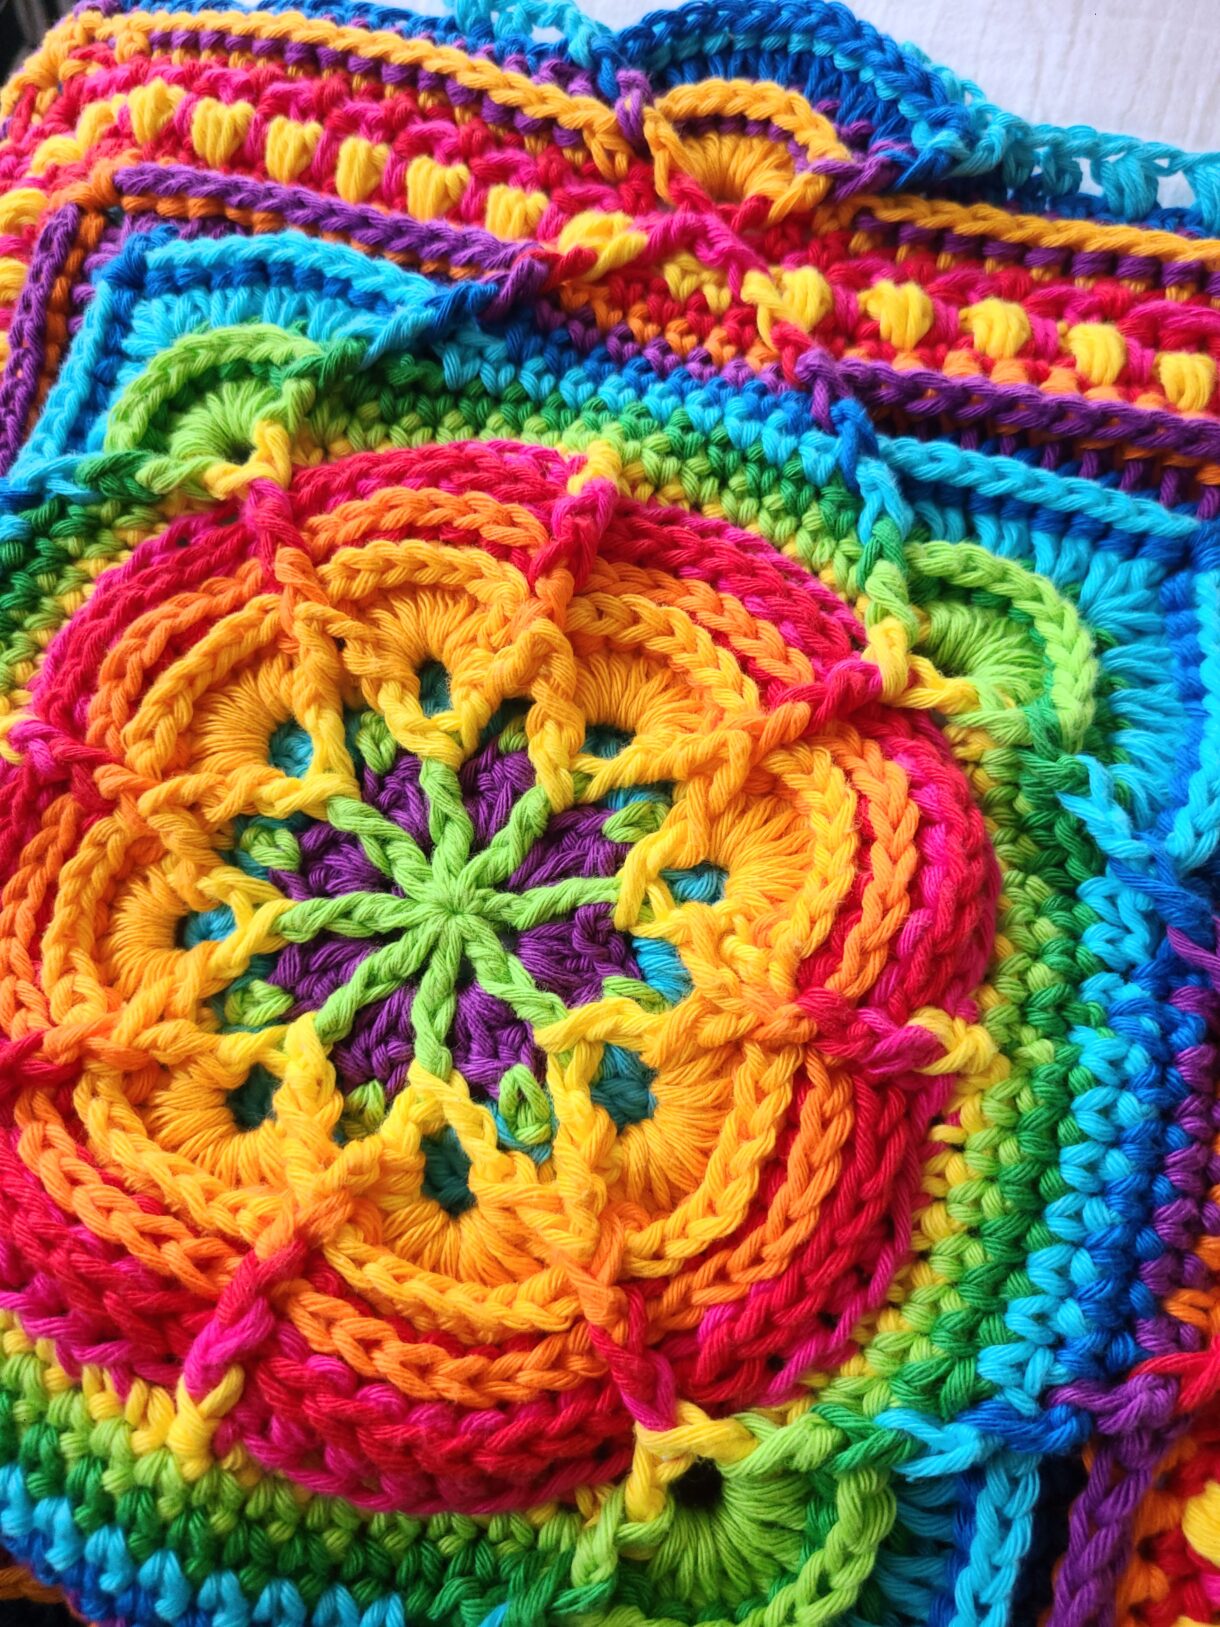
This is a slightly modified version of the Tiny Puddle than the one previously published. It has been updated to seamlessly work with the Hue-Mongous Tiny Puddle Pillow and Throw pattern.
Foundation
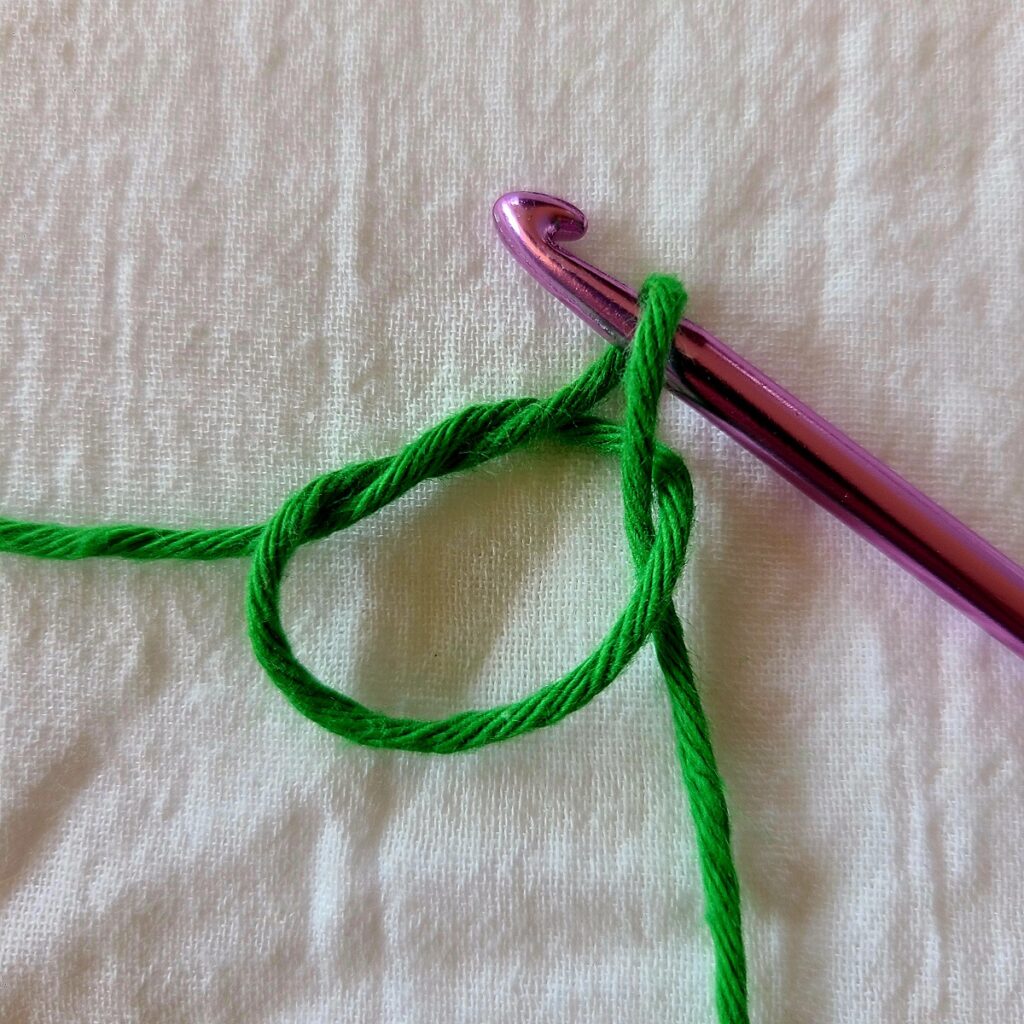
Make an adjustable (magic) ring OR chain 4 and join into a circle. Insert hook into ring and pull up a loop.
Round 1
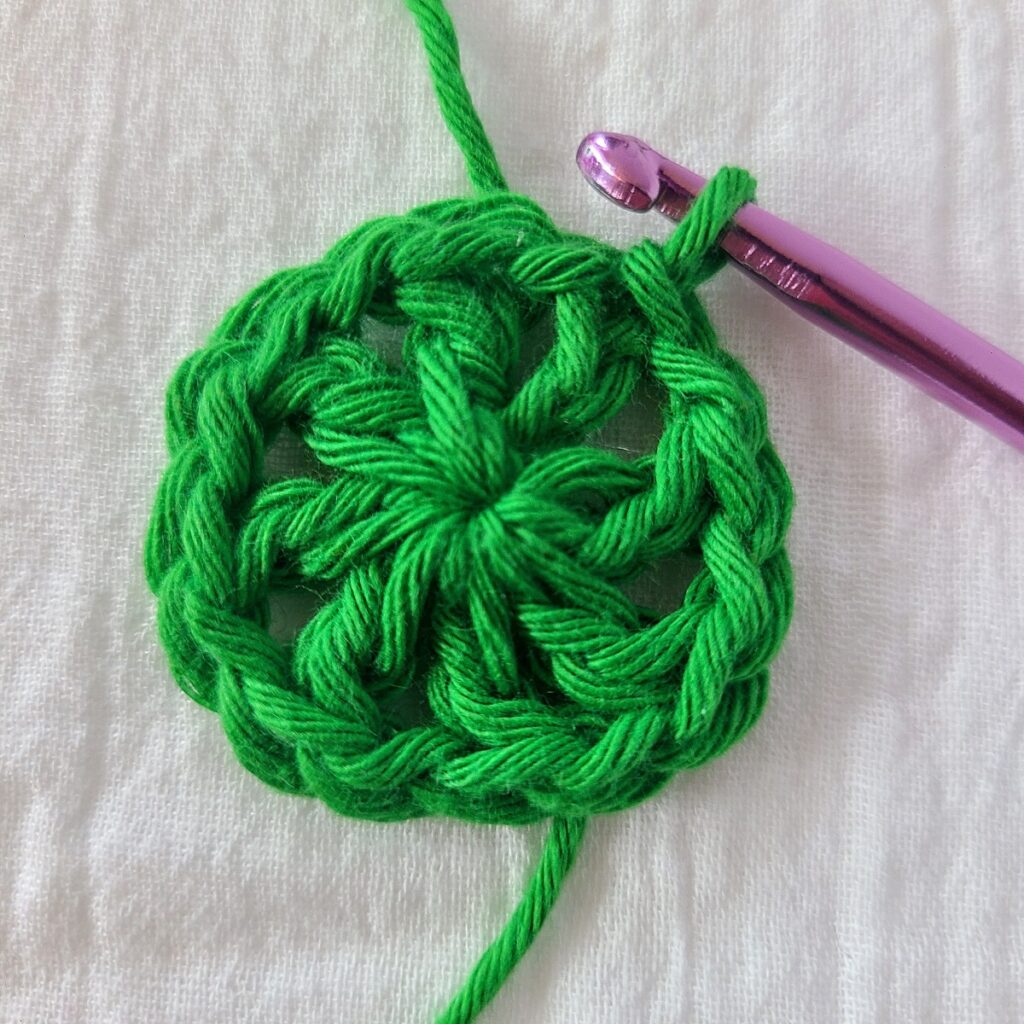
Ch4 (counts as first DC + ch1), [Dc + ch1 into ring] 7 times. If you used an adjustable ring as your foundation, pull it closed now.
Join with slip stitch to third chain from beginning of Round.(Change yarn colors if you desire.) (8Dc + 8ch1 spaces)
(16sts, including chains)
Round 2
Do not ch1 to start this round.
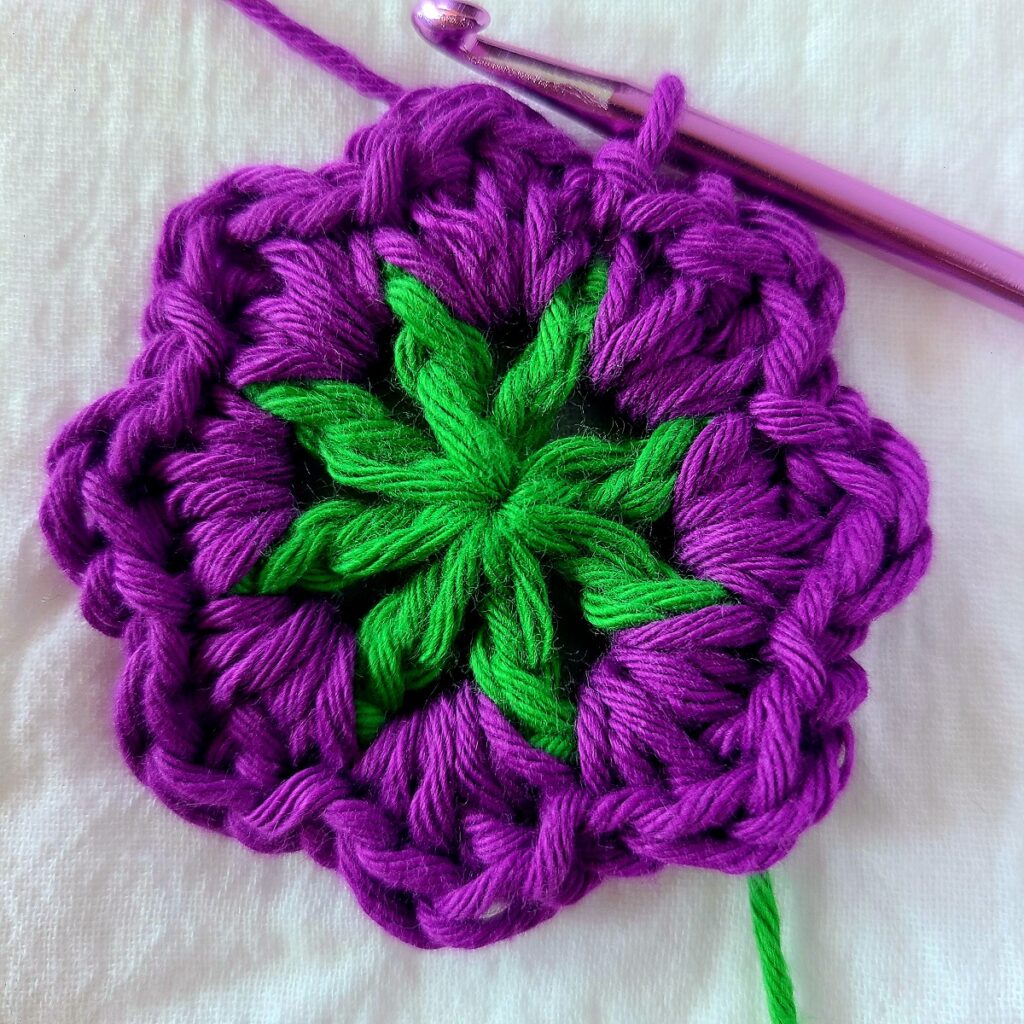
(Sc + 2Dc + sc in next ch1 space) 8 times.
Join with slip stitch to sc at beginning of Round. (Change yarn colors if you desire.)
(32 sts, 8 small shells)
Round 3
Do not ch1 to start this round.
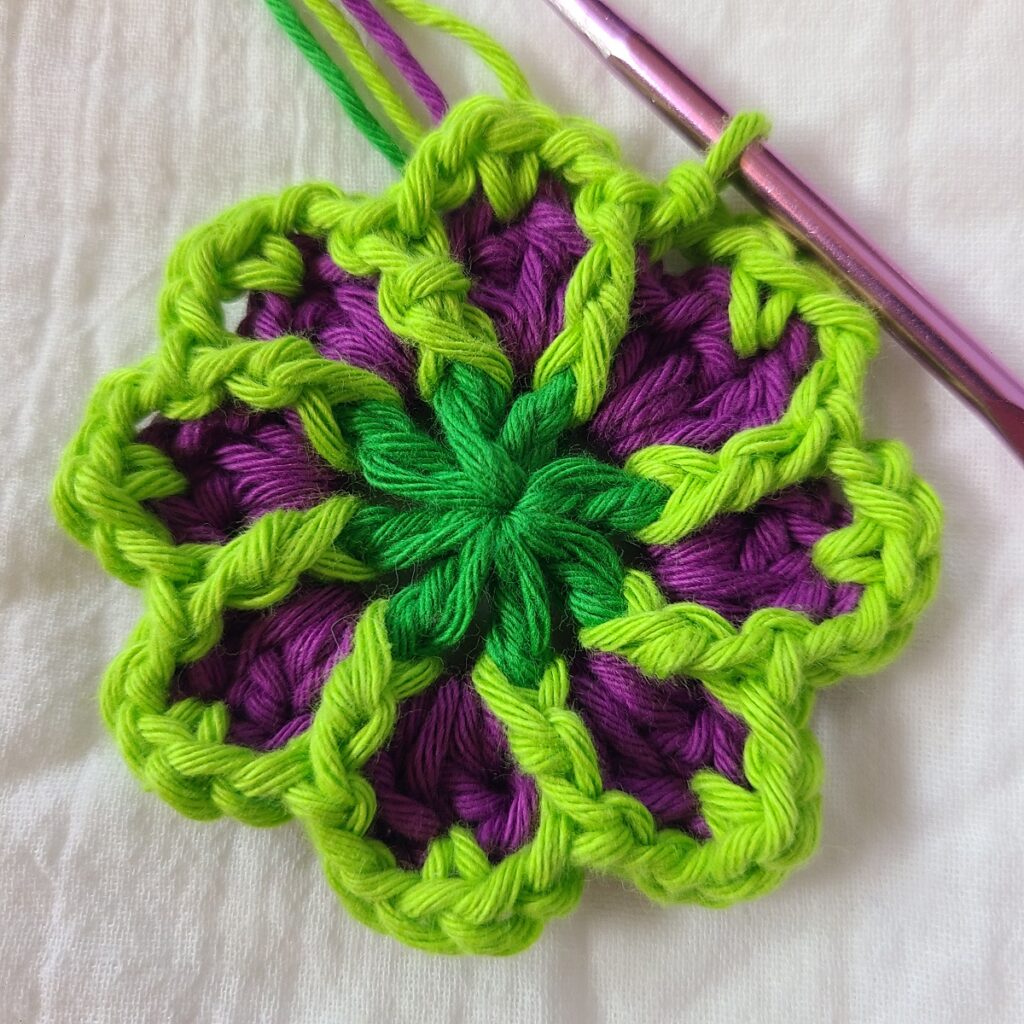
[Fpdc around Dc from R1 that is below the hook, ch2, sc into top of second Dc of shell, ch2] 8 times.
Join with slip stitch to top of Fpdc at beginning of Round. (Change yarn colors if you desire.)
(48sts)
Round 4
2 slip stitch into ch2 space, [ (sc + 2Dc) in next ch2 space, (2Dc + sc) in next ch2 space] 8 times.
(Last set of stitches will be worked over the 2 slip stitches you made at beginning of round.)
Join with slip stitch to Dc at beginning of Round. (Change yarn colors if you desire.)
(48sts)
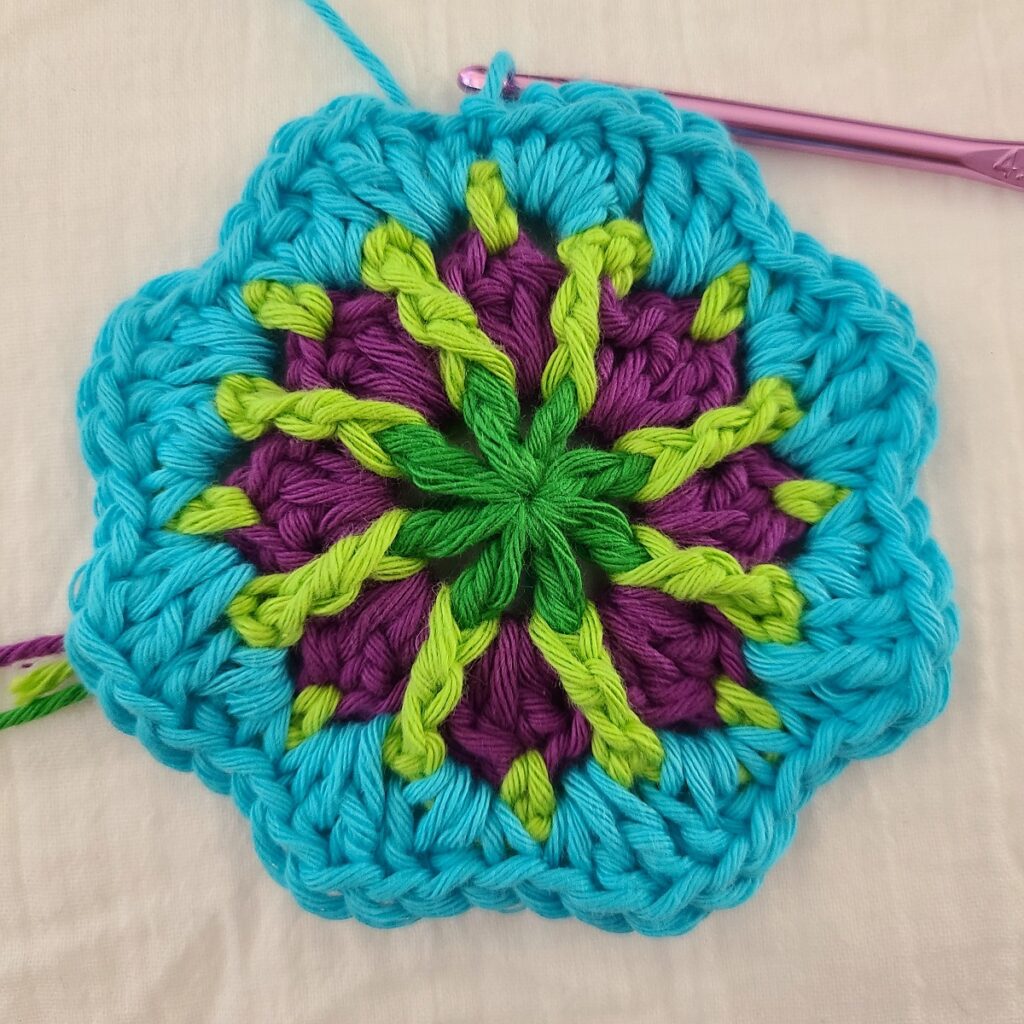
Round 5
Sc into same stitch as the join you just made, ch1, [FpDc around post stitch from R3, ch3, FpDc around THE SAME FpDc, ch1*, sc into second sc from R4, ch1, (first cable arch made)] 8 times. *Note: on the last repeat you will end at *
Join with slip stitch to the sc at beginning of Round. (Change yarn colors if you desire.) (64sts)
**Note: Make your last FpDc around the first FpDc AND the ch1 at the beginning of R3. Everything will look more tidy in the end.
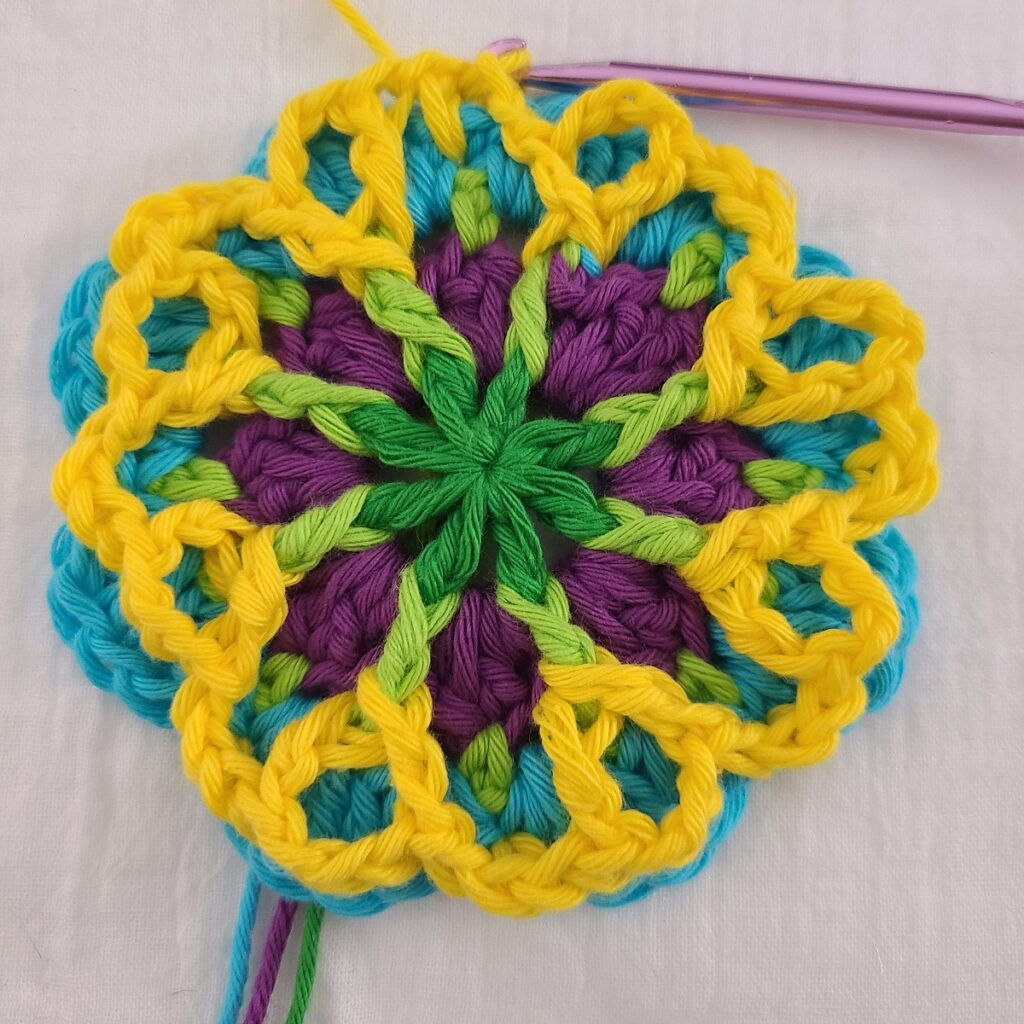
Round 6
No chain at beginning.
Slip stitch into ch1 space, [8Dc in ch3 space, FpDc2tog around the next FpDc AND around the next FpDc] 8 times.
Join with slip stitch to top of Dc from beginning of Round.
(72sts)
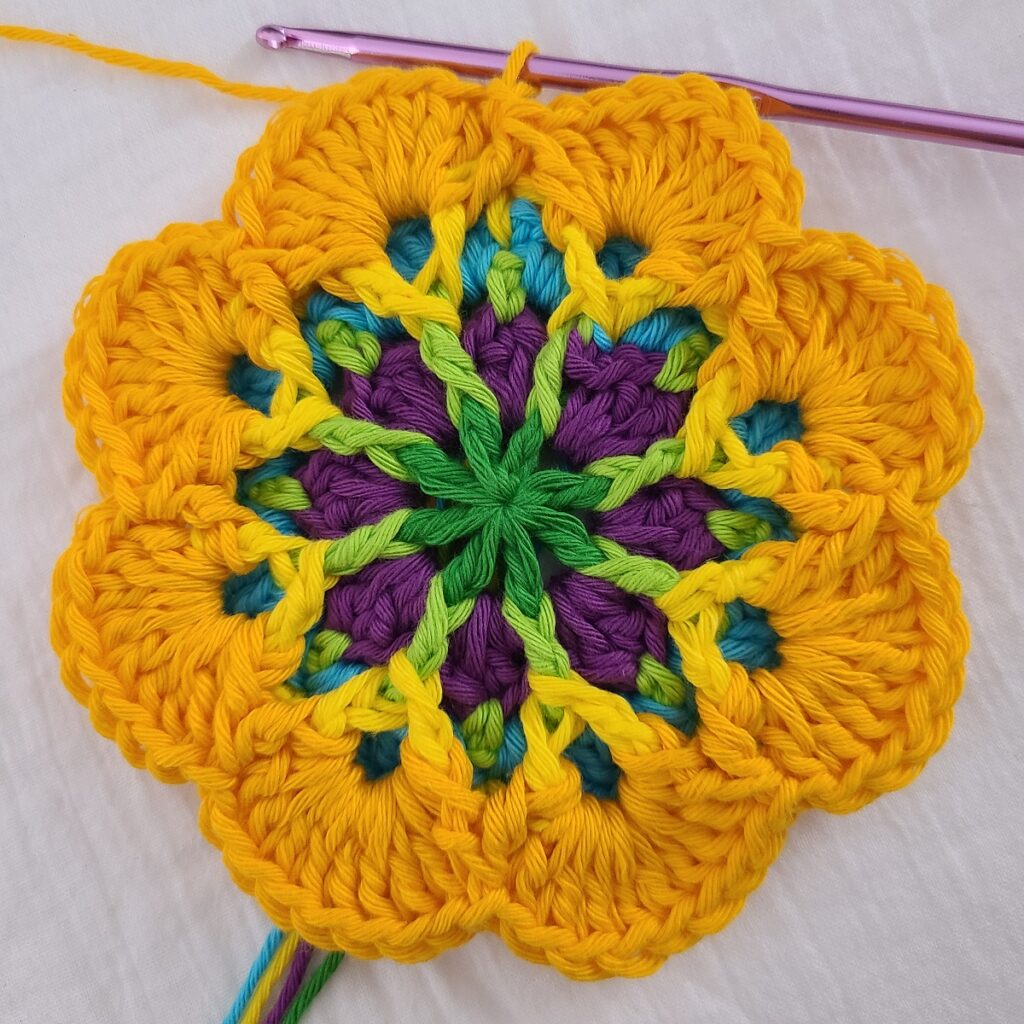
Round 7
(Bphdc around all 8Dc sts, Fphdc around the FpDc2tog below the hook) 8 times.
Join with slip stitch to top of first Bphdc from beginning of Round.
(72sts)
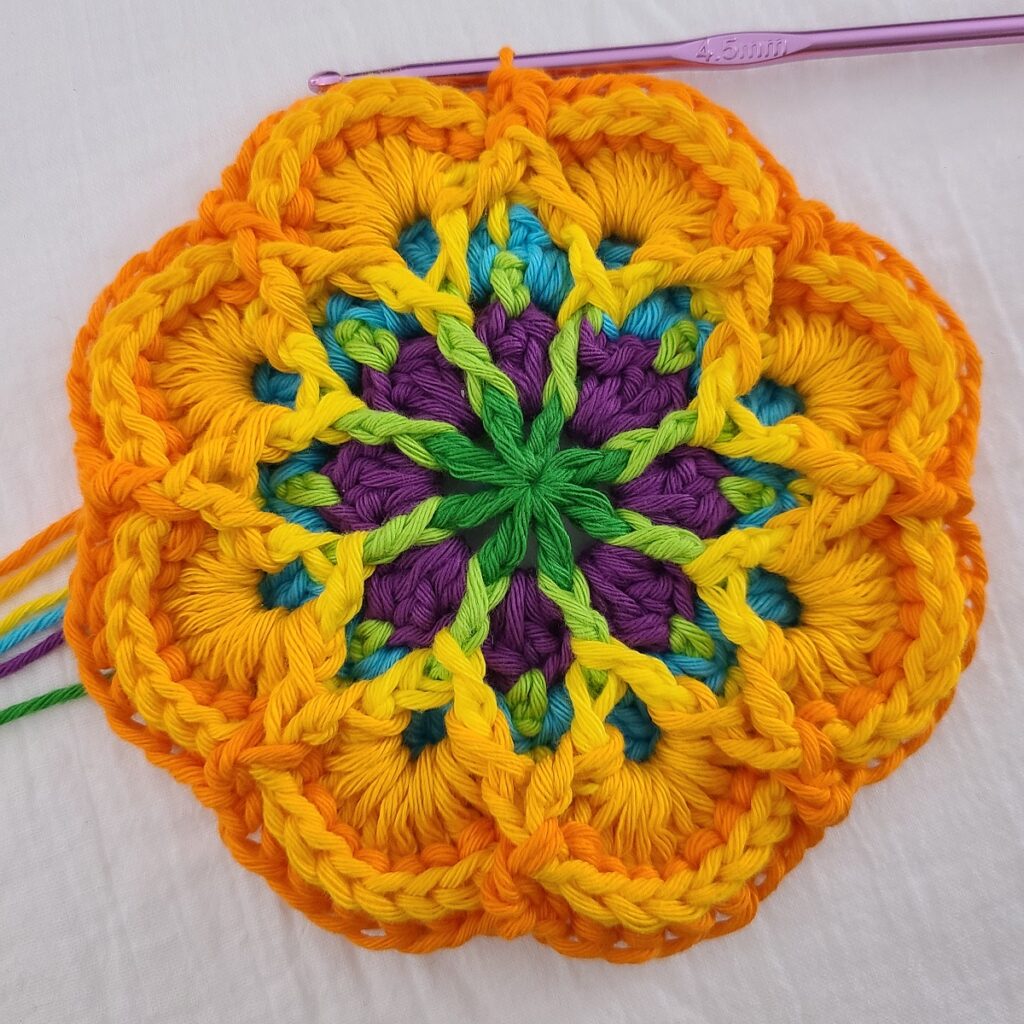

 CAL
CAL Etsy Patterns
 Ravelry
 FREE
FREE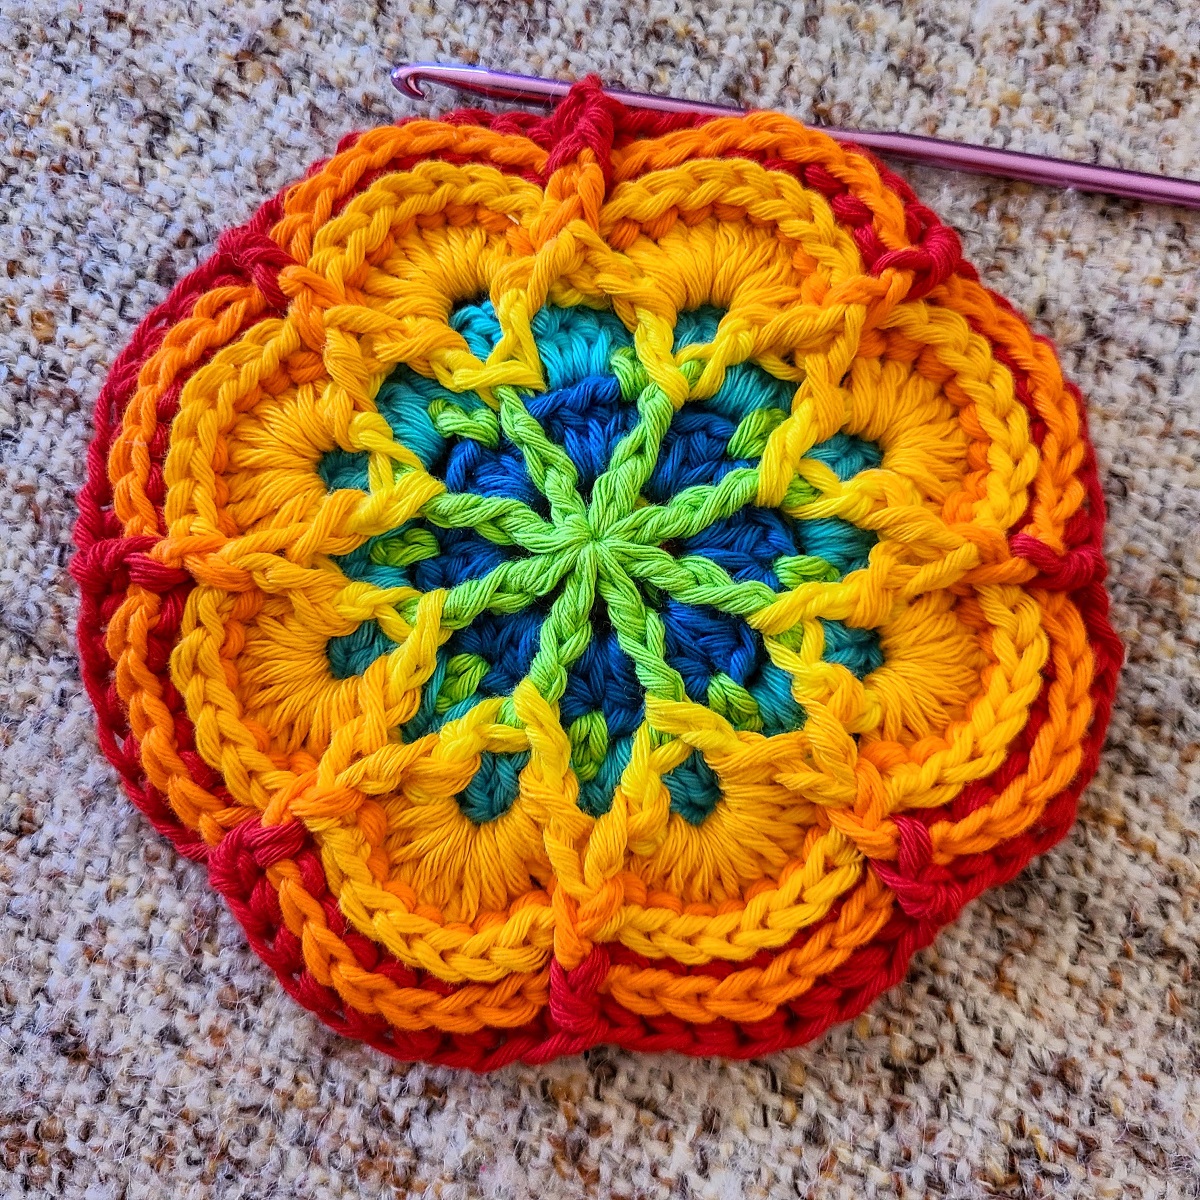


 Granny Scare Square-Croch...
  Tiny Puddle Giant Square
  Lucky Thirteen
  100gram Hue-Mongous 100% ...
  Skull Motif Madlandia Style
  Flower Puddles & Ripples Blanket
  Tiny Puddle (Part 1 of Reflections CAL)
  CAL Part 3 – Tiny Puddle Reflections
  CAL Part 2-Tiny Puddle Reflections



Please can you tell me what Fpdc , Fpdc2tog and Bphdc stand for. I’m a beginner crochet – er and a bit confused with a couple of the terms. Such a beautiful pattern.
(I had to look it up.)
YO: Yarn over
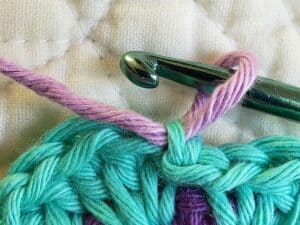
Front Post Double Crochet (FpDc): YO, insert hook from front to back around designated
stitch, YO, pull up a loop, YO, pull through two loops, YO, pull through both remaining loops.
Front Post Double Crochet Two Together (FpDc2tog): YO, insert hook from front to back
around designated stitch, YO, pull up a loop, YO, pull through two loops, YO, insert hook from
front to back around second Fpdc, YO, pull up a loop, YO, pull through two loops, YO, pull
through three remaining loops.
Back Post Half Double Crochet (Bphdc): YO, insert hook from back to front around
designated stitch, YO, pull up a loop, YO, pull through all three remaining loops
Hi! This is so beautiful!
Do you have any video tutorials for it?
Hi looks amazing
Is there a video tutorial please as I’m a visual learner
Kind regards nat
Pingback:CAL Part 2-Tiny Puddle Reflections – MADLANDIA
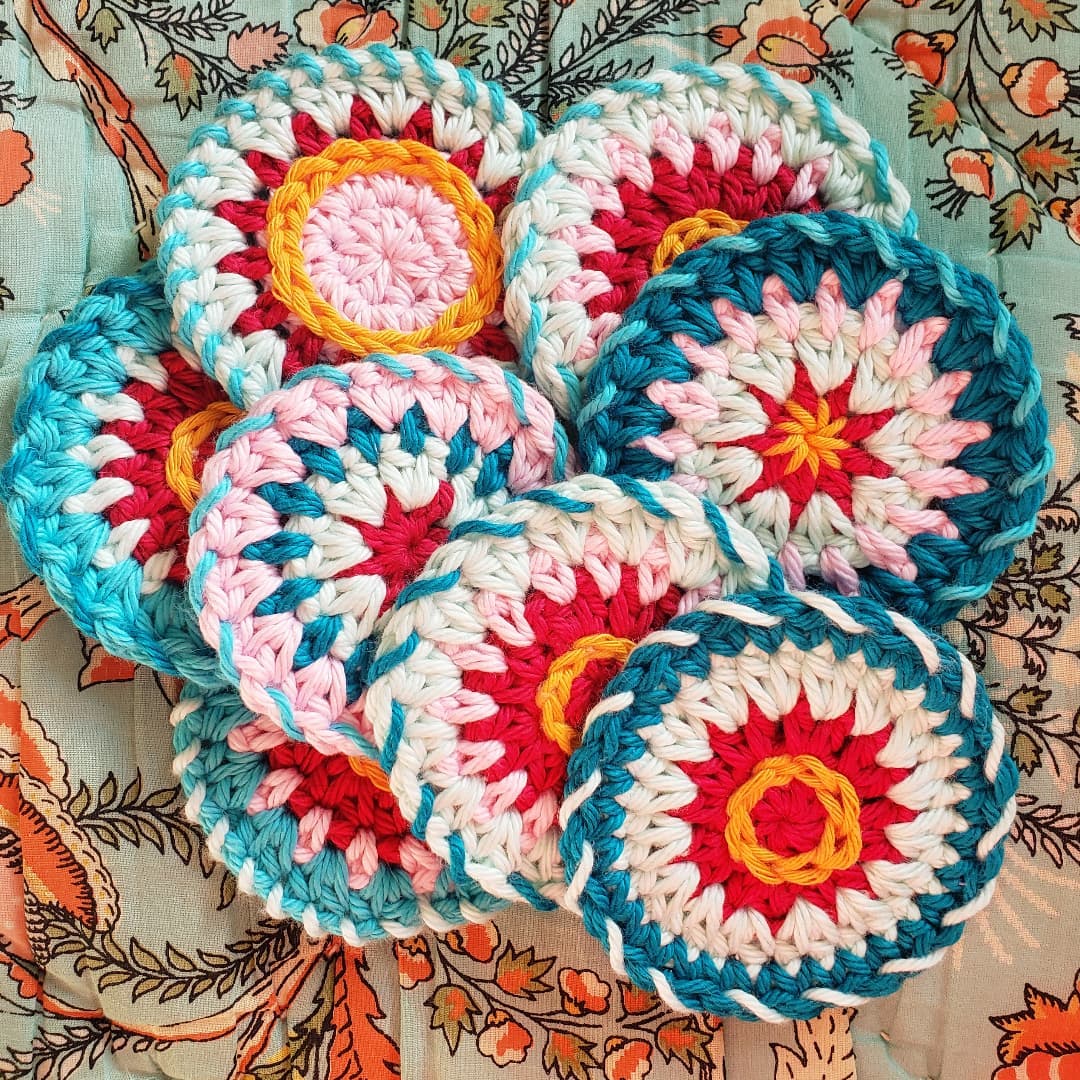
I made earrings from this pattern and they look so good!
Amazing!!!
I have only done basic crocheting for many years and thought this would be a fun challenge 🙂
Your instructions are really good. So far I’ve made two of these and they are fun to make. Very pretty. They remind me of a kaleidoscope.
Well,that was FUN!!!!!
Another reason for me to stay seated in my chair tomorrow…lol
I’ from Germany and it is so hard to understand the pattern.but I like it so much , the colors too that I try it. Looking at the pictures helps. Cold you also make a graphic?
I’m from the States, and I’m confused too as of Round 6…wish there was a video.
If you want to tell me the problem here I am sure I can help you.
I agree Patricia!!! Quiet Time Counts!!!!